| サンプル集 |
|
■VC ■C# ■Java ■BorlandC ■LinuxC ■MS-DOS ■bash ■Excel VBA ■VBScript ■PHP ■HTML ■perl ■iPhone ■Android ■Lua ■WordPress ■PowerShell ■Python ■Flutter ■Rust ■Node.js ■other |
| Linuxコマンド |
| 用語集 |
| debian メモ |
| apache2 メモ |
| MySQL メモ |
| Oracle メモ |
| PostgreSQL |
| HOME |
Cloud Formationを使ってS3バケットを作り静的ホスティングを試してみます。
| static-site.yaml | ||
|
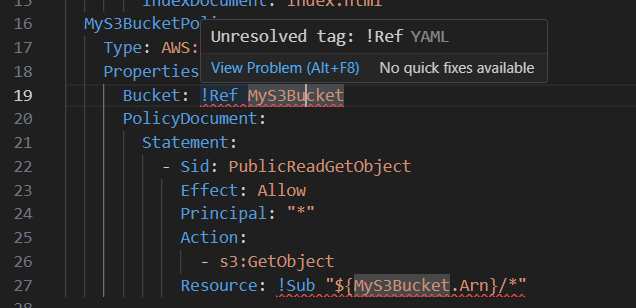
Visual Studio Code (VSCode)でyamlファイルを開いたところ!Refと!Subにエラーが出ました。
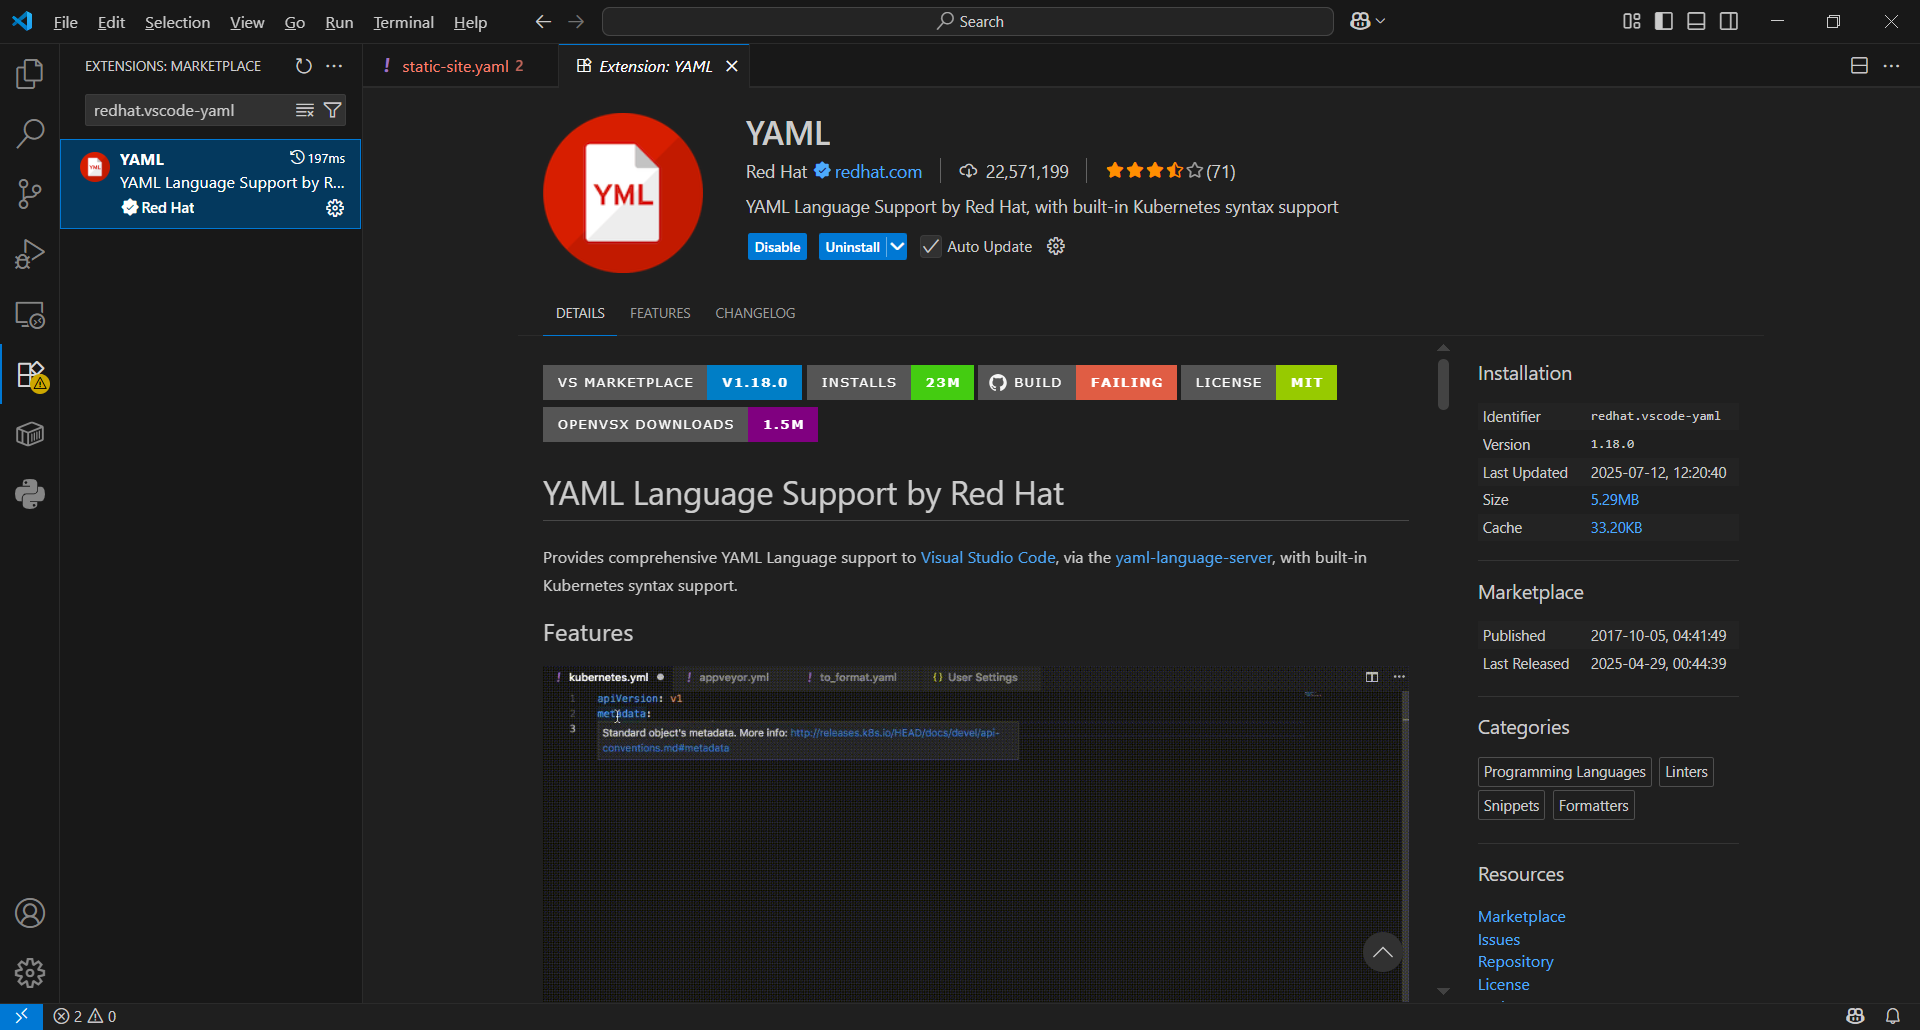
VSCodeのextentionsでredhat.vscode-yamlを確認したところ既にインストール済でした。
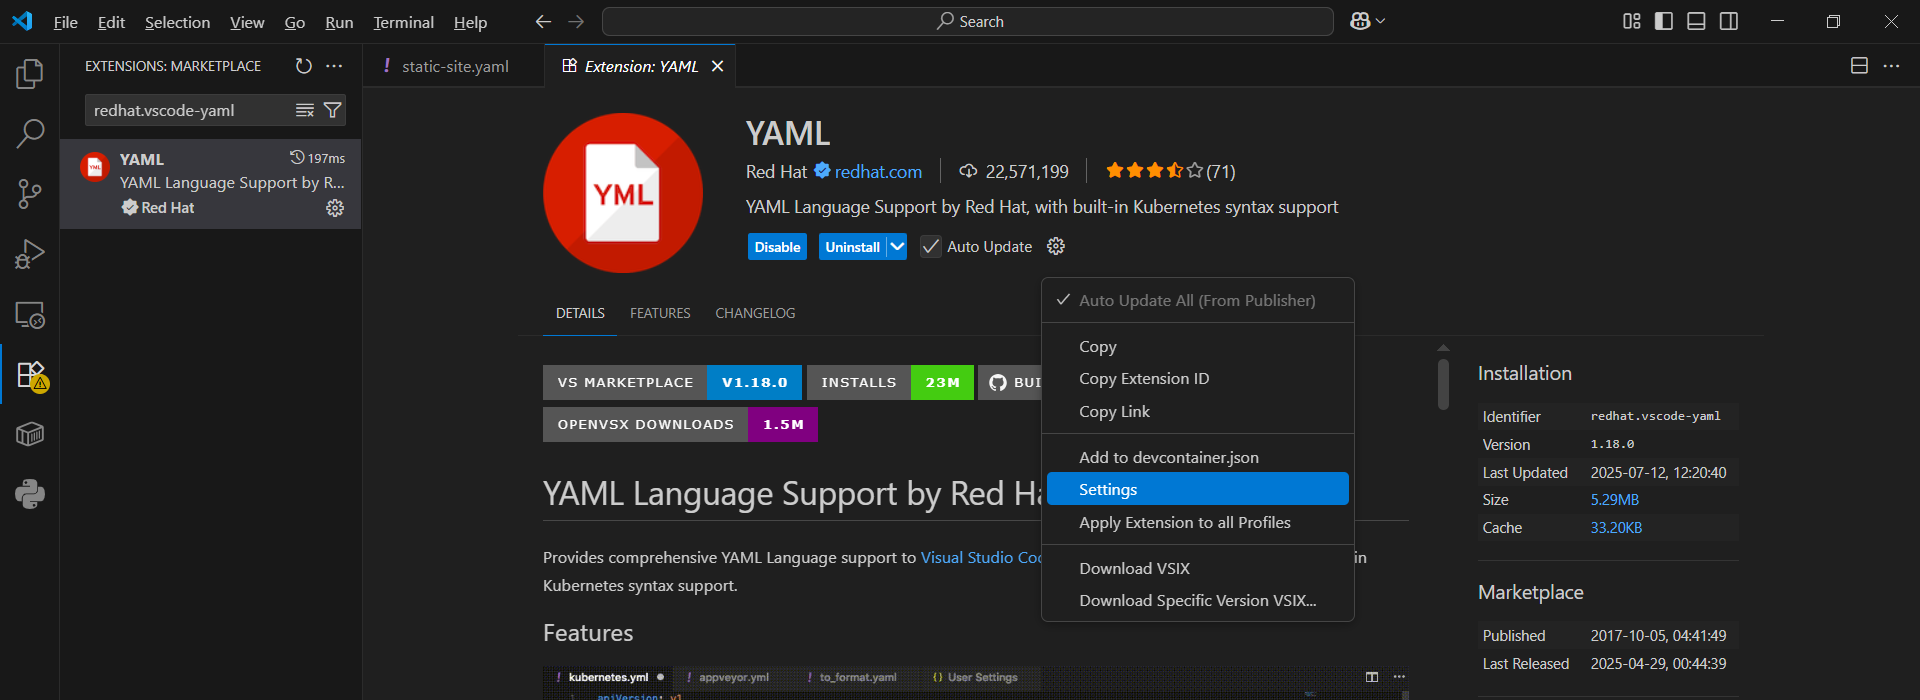
歯車マークをクリックしSettingsをクリックします。
Yaml: Custom Tags欄のEdit in settings.jsonをクリックします。
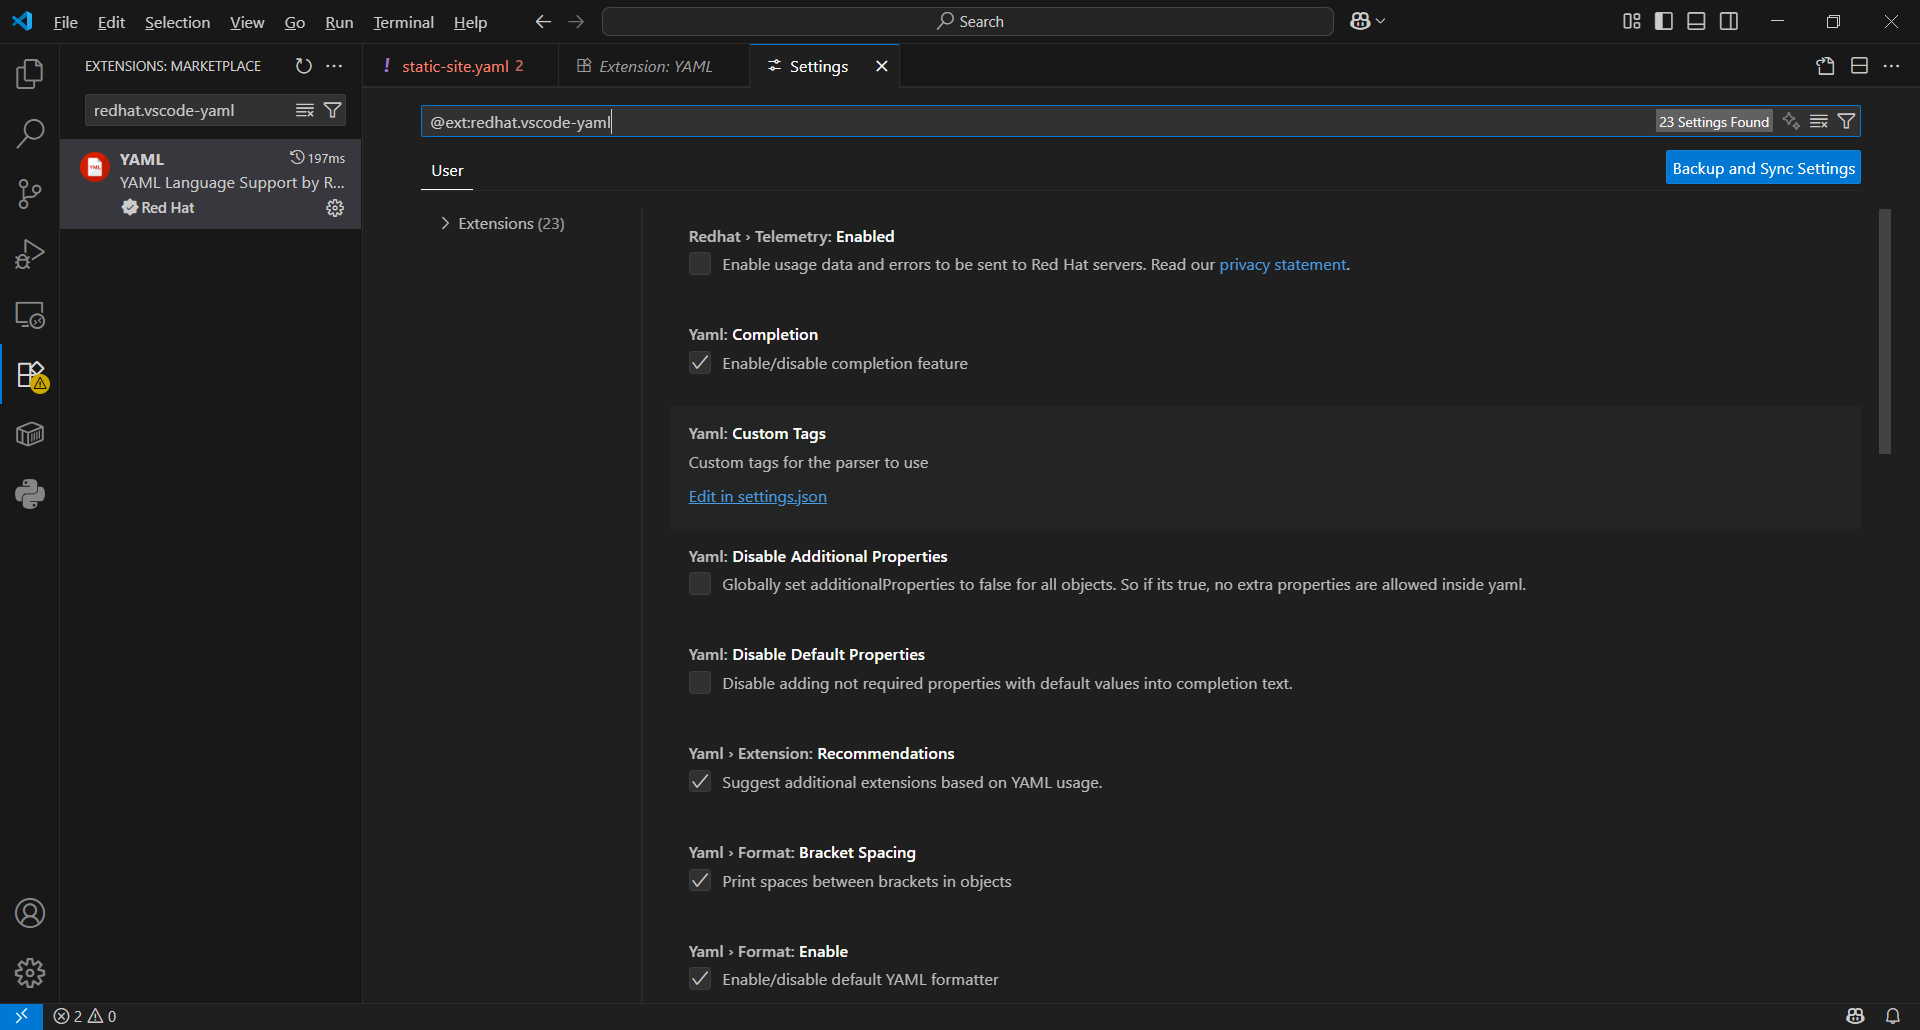
何も設定されていませんでした。

以下のタグを追記します。
| settings.json | ||
|
VSCodeで出ていたエラーが消えました。
aws cloudformationコマンドは以下の通りです。
--stack-name my-static-site-stack ^
--template-body file://static-site.yaml
コマンドプロンプトで実行してみます。
More? --stack-name my-static-site-stack ^
More? --template-body file://static-site.yaml
{
"StackId": "arn:aws:cloudformation:ap-northeast-1:888111666777:st
 ack/my-static-site-stack/aaaccc44-4555-1110-0088-8eee66655522"
}
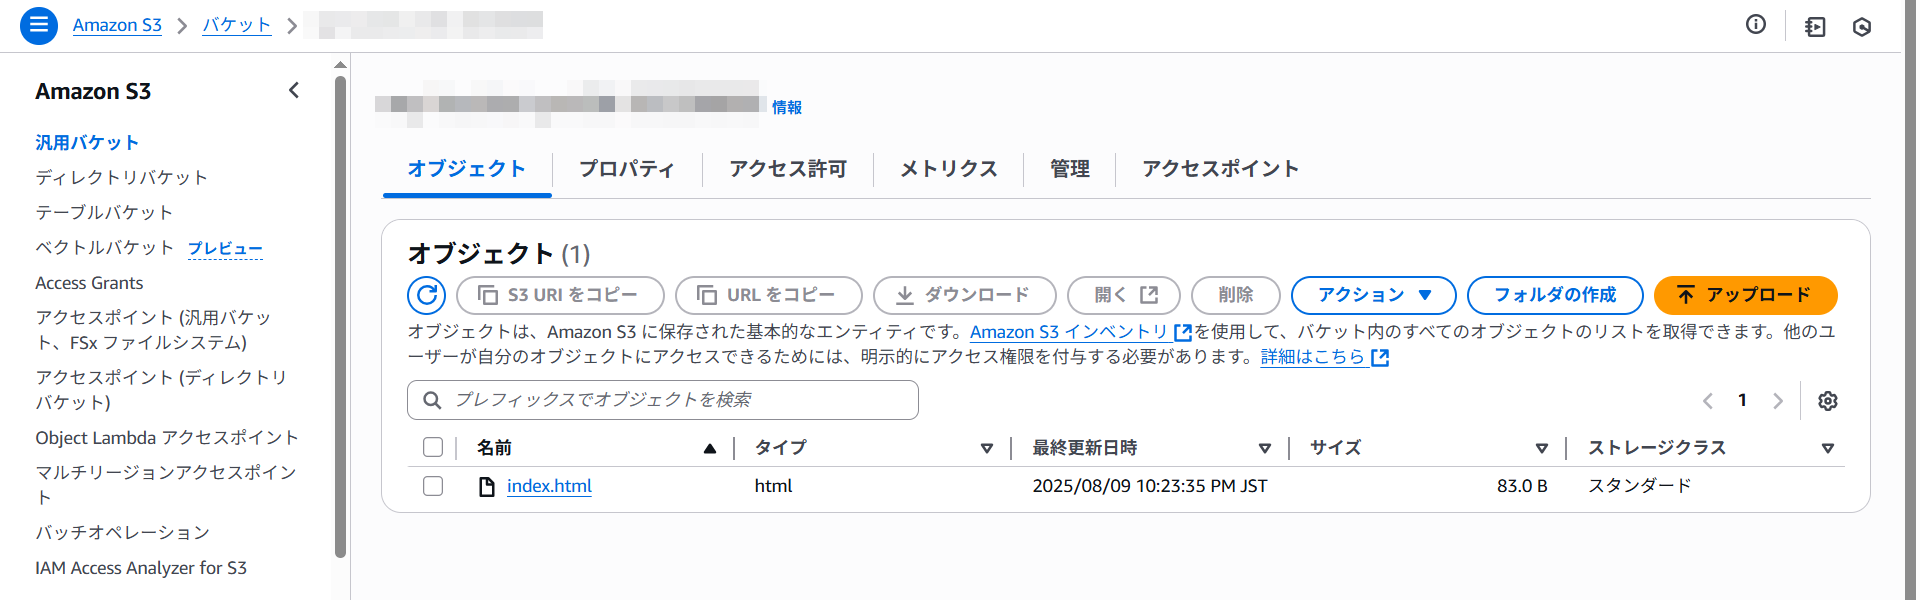
S3のページを確認するとmy-bucket-ymlib-20250809が表示されました!
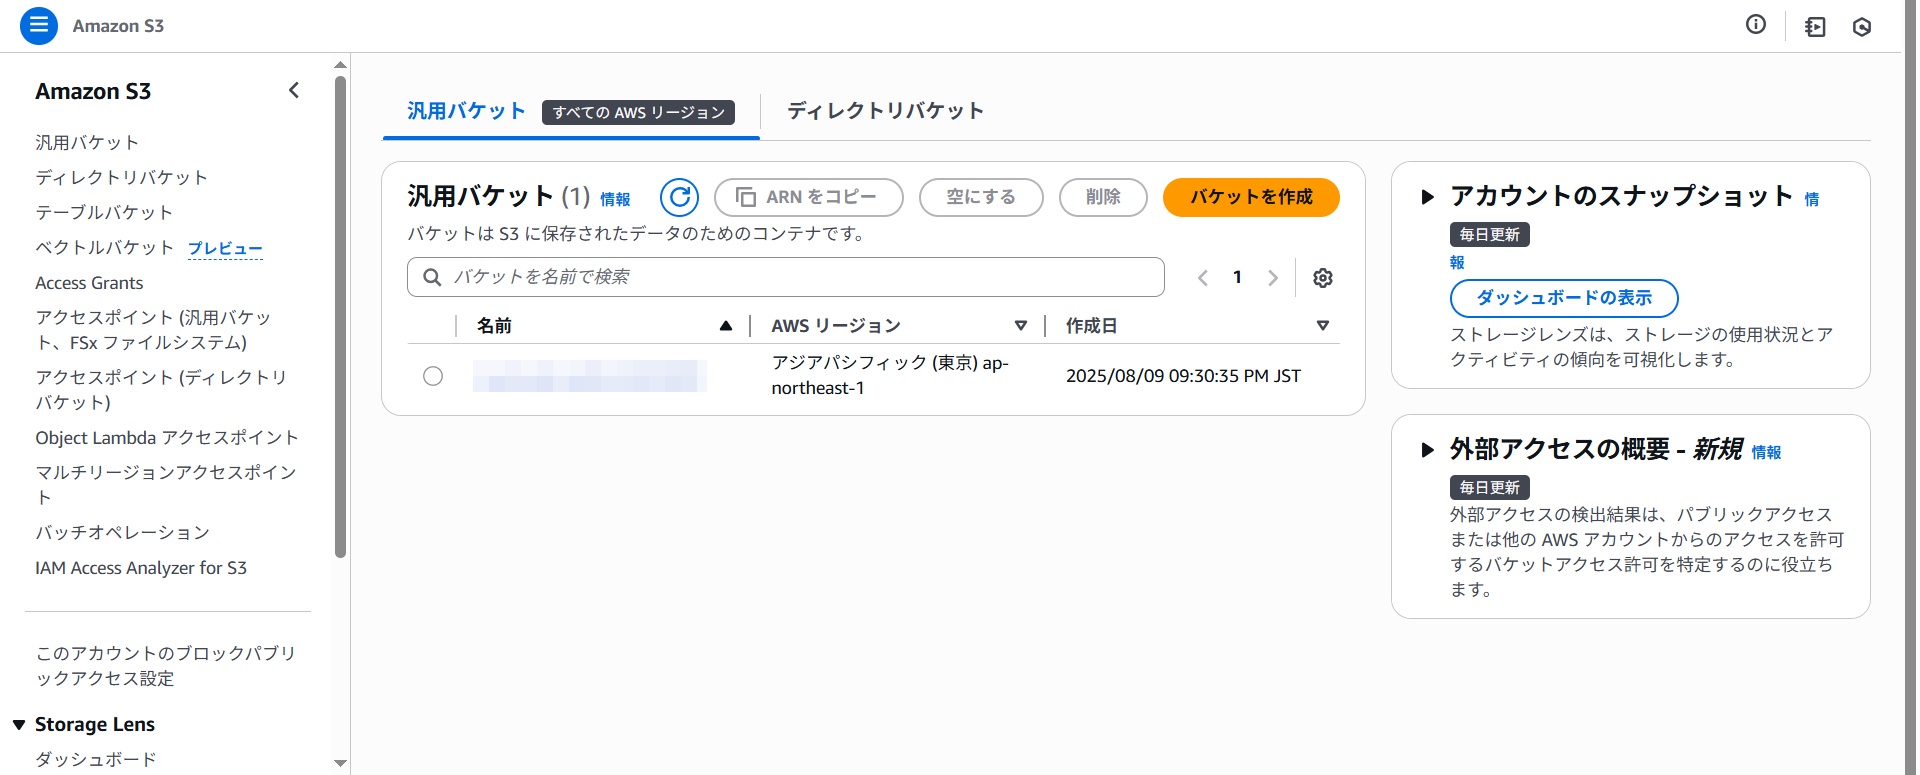
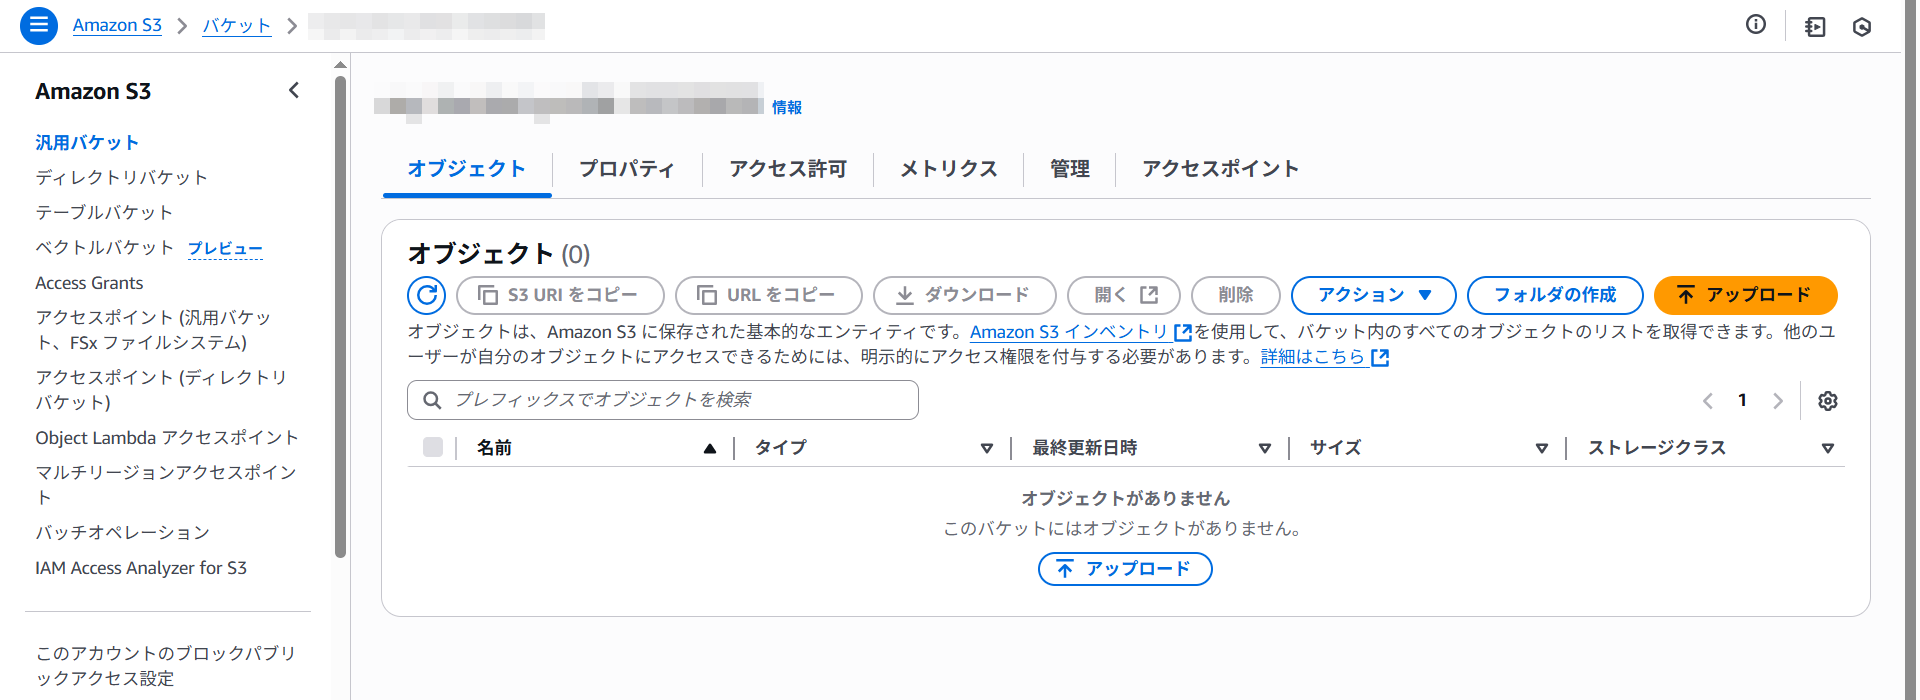
my-bucker-ymlib-20250809をクリックします。
プロパティタブをクリックします。
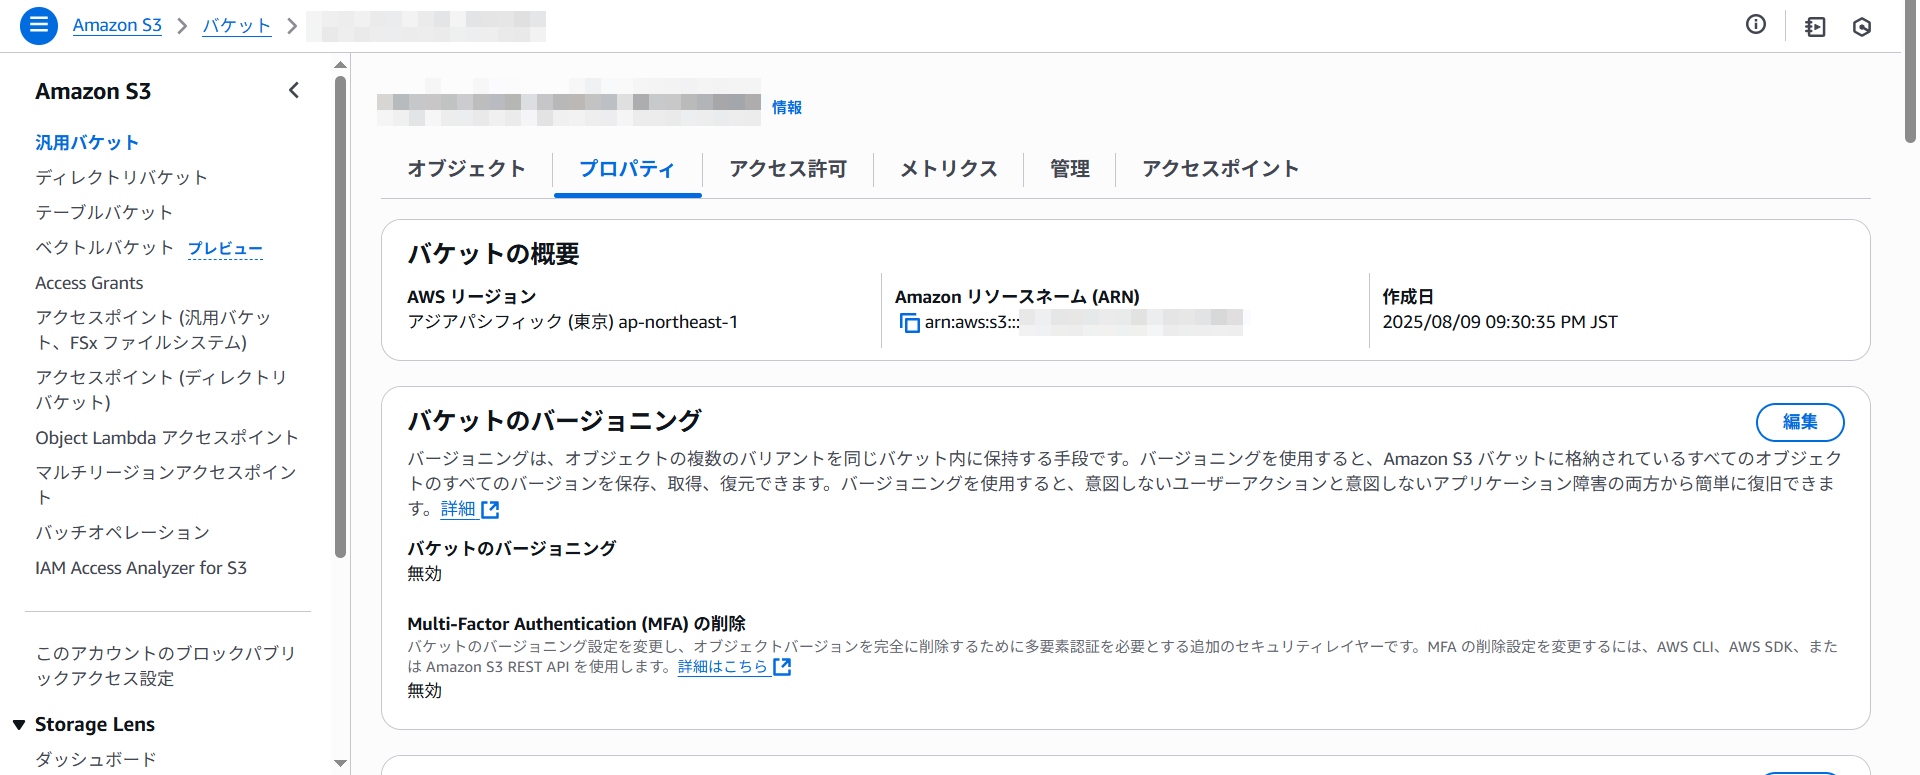
下にスクロールさせると静的ウェブサイトホスティングの設定がありました。
ちゃんと有効になっていました。
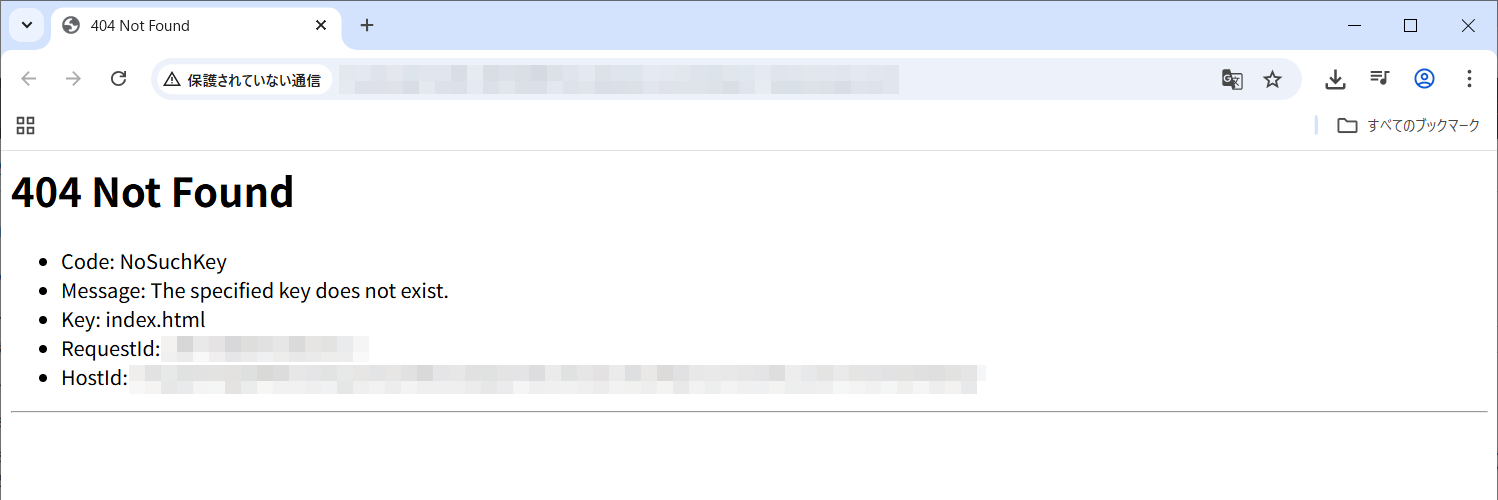
画面の下の方にバケットウェブサイトエンドポイントのURLが表示されています。
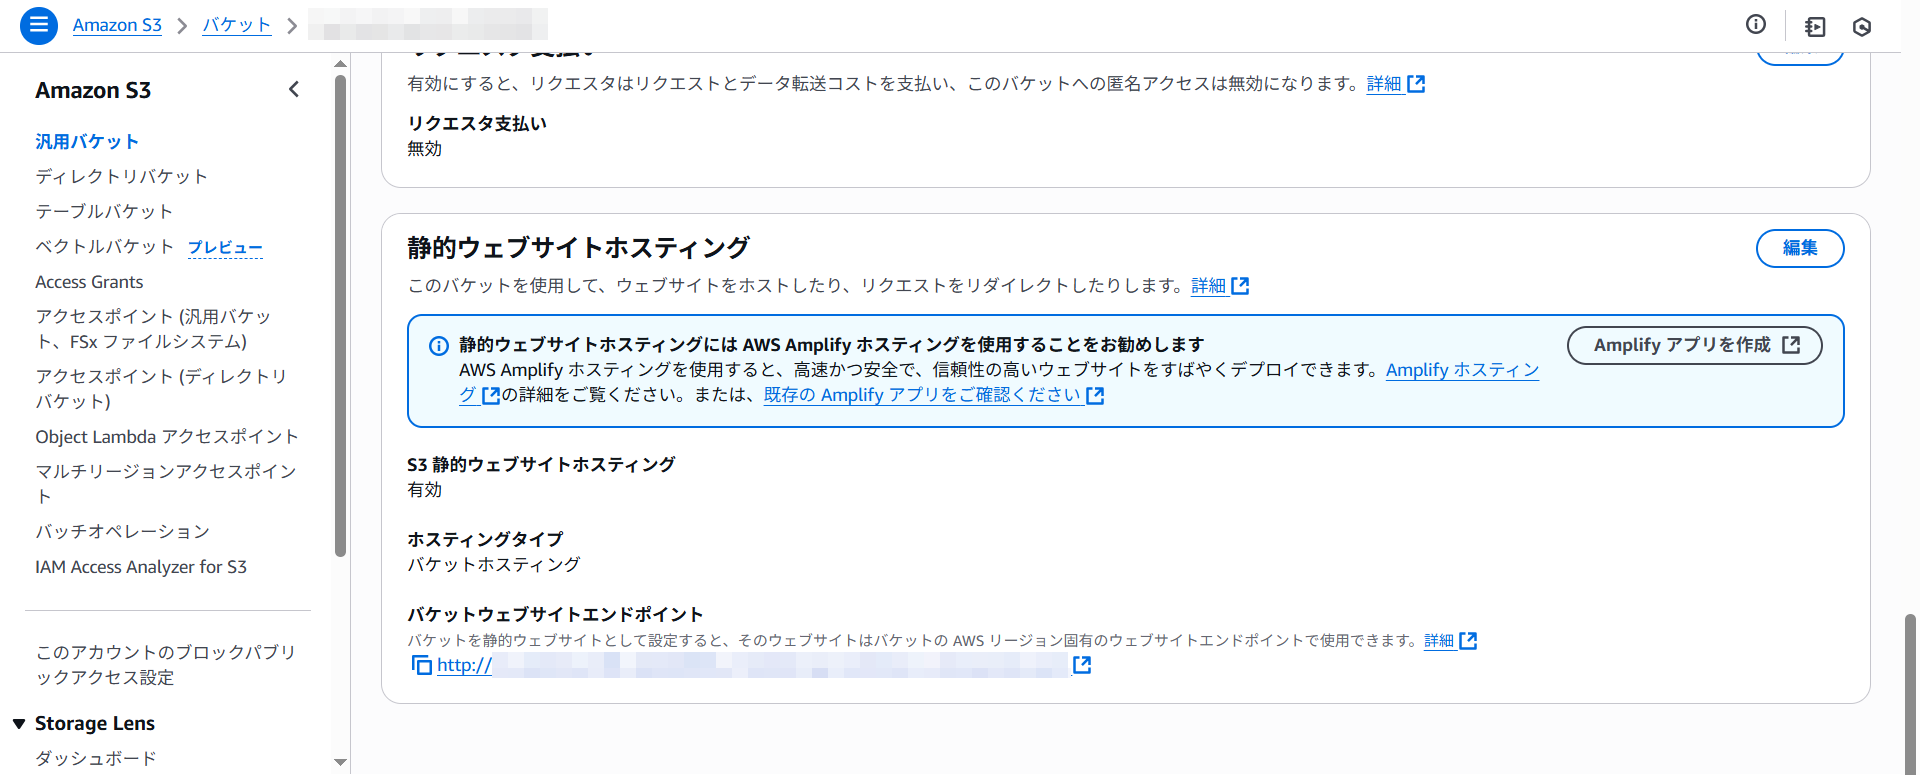
バケットウェブサイトエンドポイントへアクセスしてみます。
index.htmlを作成します。
| index.html | ||
|
s3 syncでindex.htmlをアップロードするコマンドは以下になります。
--exclude "*" ^
--include "index.html" ^
--exact-timestamps
オプションは以下を設定しました。
| --exclude "*" | 全部除外 |
| --include "index.html" | index.html だけ除外を解除 |
| --exact-timestamps | タイムスタンプを比較 |
実行してみます。
>aws s3 sync ./ s3://my-bucket-ymlib-20250809 ^
More? --exclude "*" ^
More? --include "index.html" ^
More? --exact-timestamps
upload: .\index.html to s3://my-bucket-ymlib-20250809/index.html
ブラウザでアクセスしてみます。
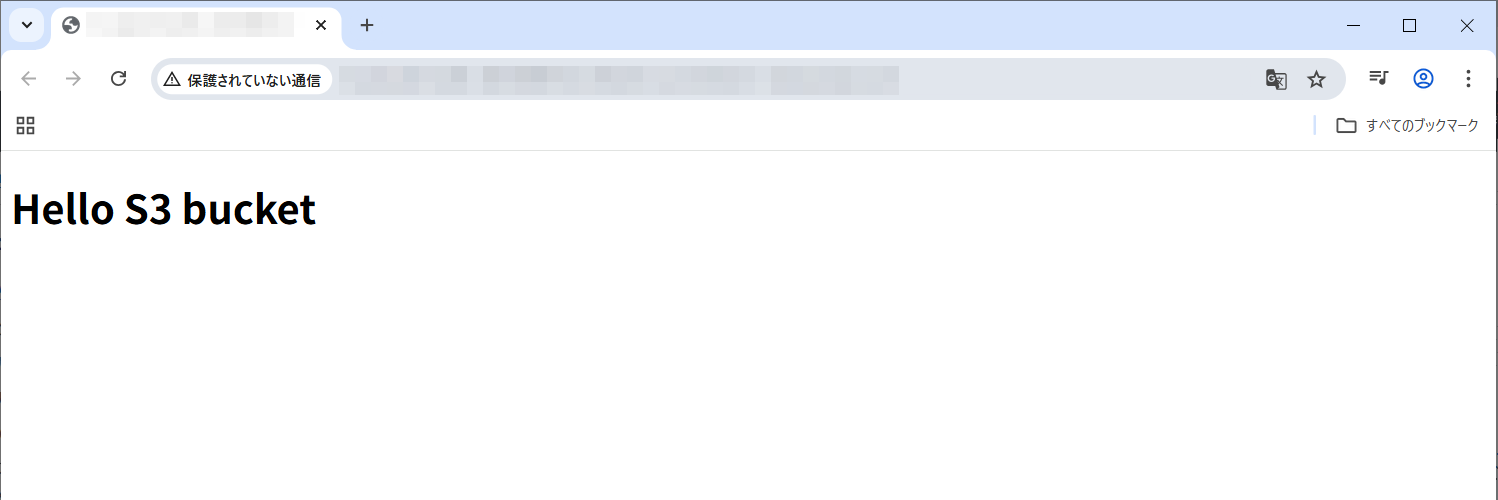
上手くいきました!
バケットを確認するとindex.htmlが表示されました。
正常に動作確認できたのでバケットは削除しておきます。
CloudFormationのページを見るとmy-static-site-stackが表示されました。
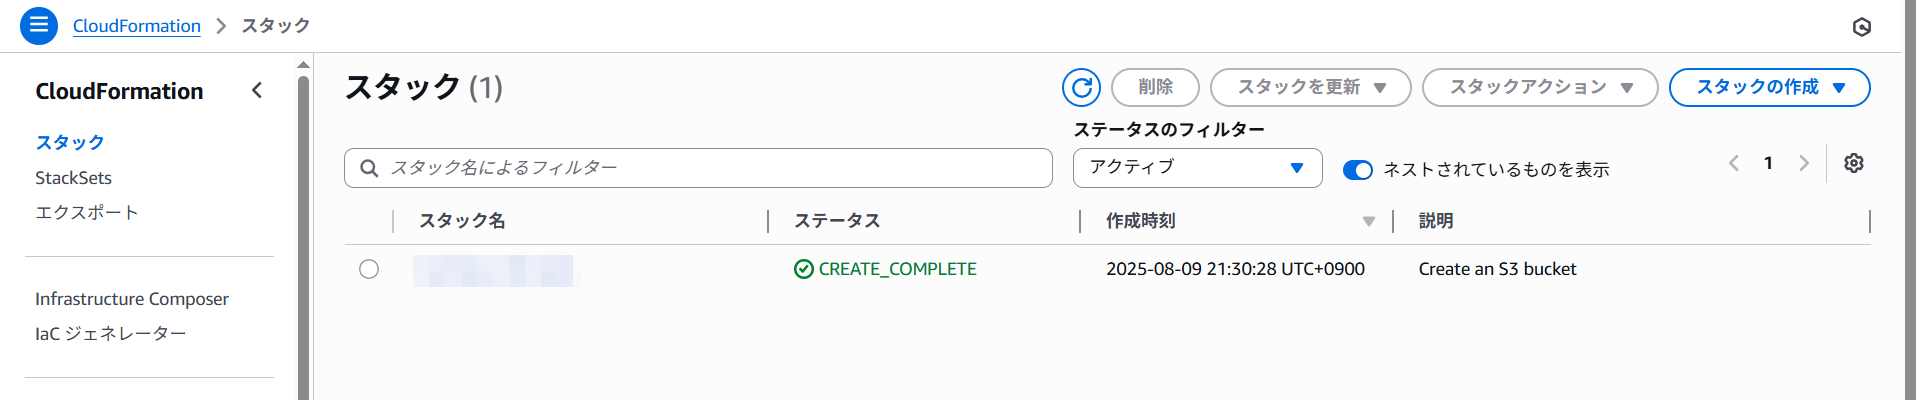
こちらも削除しておきます。
Copyright (C) 2025 ymlib.com