| Linuxコマンド |
| 用語集 |
| debian メモ |
| apache2 メモ |
| MySQL メモ |
| Oracle メモ |
| PostgreSQL |
| HOME |
チャットアプリを作ってみます。
openaiをインストールします。
npm install openai
以下のコマンドでプロジェクトを作成します。
npm create vite@latest
コマンドプロンプトでコマンドを実行します。
>npm create vite@latest
> npx
> create-vite
|
o Project name:
| chat-for-openai
|
o Select a framework:
| React
|
o Select a variant:
| JavaScript
|
o Use rolldown-vite (Experimental)?:
| No
|
o Install with npm and start now?
| Yes
|
o Scaffolding project in C:\...\simple-chat...
|
o Installing dependencies with npm...
added 157 packages, and audited 158 packages in 9s
33 packages are looking for funding
run `npm fund` for details
found 0 vulnerabilities
|
o Starting dev server...
> simple-chat@0.0.0 dev
> vite
VITE v7.2.4 ready in 755 ms
➜ Local: http://localhost:5173/
➜ Network: use --host to expose
➜ press h + enter to show help
ファイルを2追加します。 main.jsxは生成されたままです。
src/
App.jsx
main.jsx
.env
App.jsx
main.jsx
.env
全体を制御するjsxです。
| App.jsx | ||
|
OpenAIのAPI Keyを指定します。 ダブルクォートは不要とのことです。
| .env | ||
|
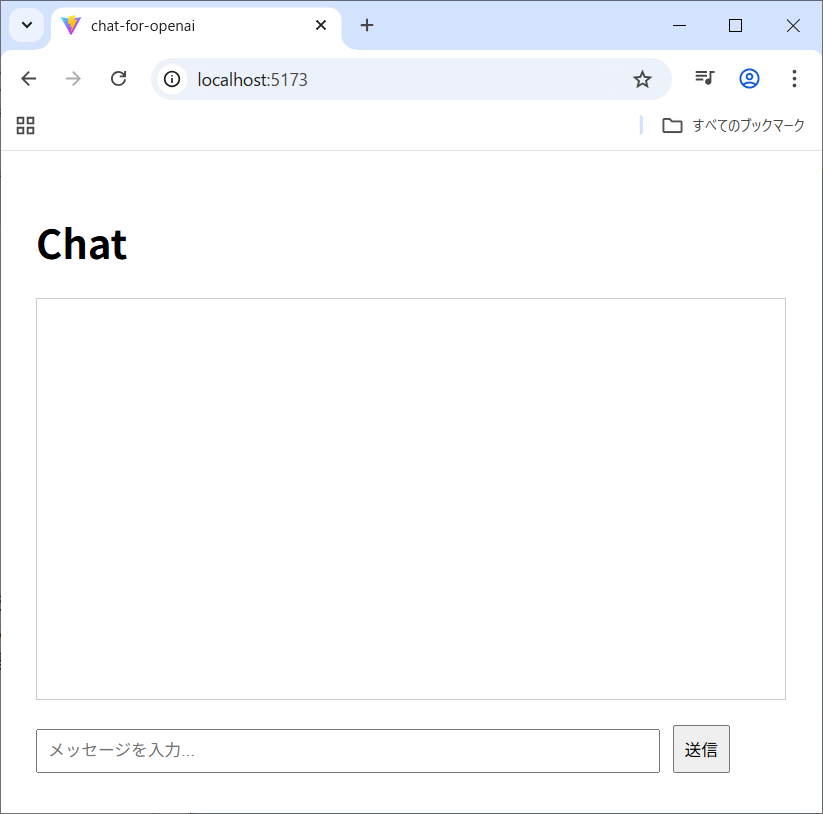
ブラウザでコマンドプロンプトに表示されているURLにアクセスしてみます。
メッセージ欄にあなたは誰ですか?と入力して送信ボタンを押します。
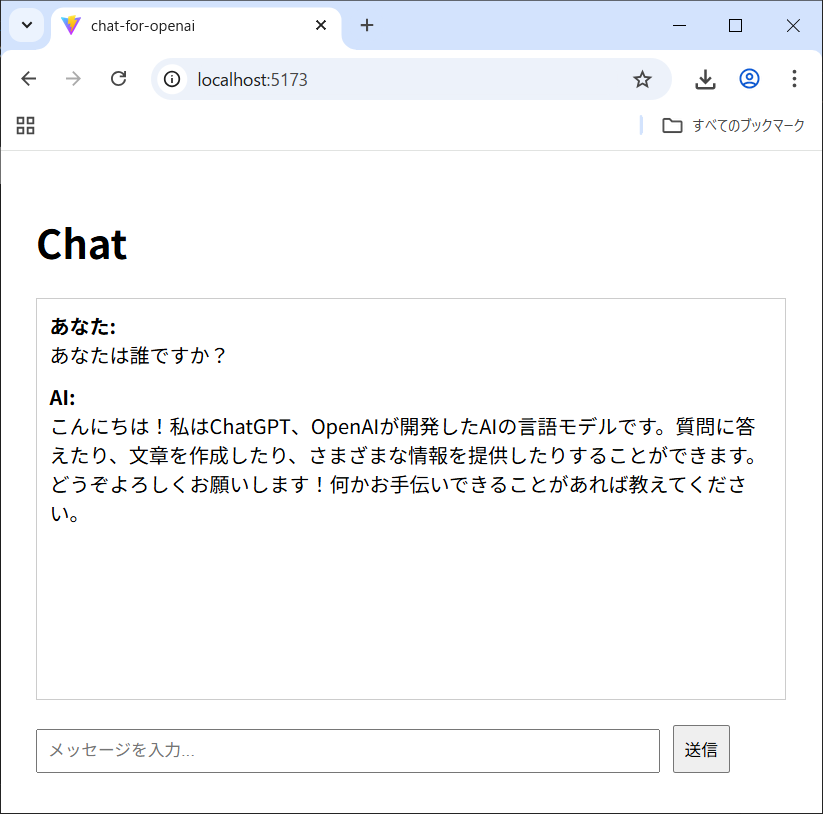
AIからの返答が表示されました!
Copyright (C) 2025 ymlib.com