| サンプル集 |
|
■VC ■C# ■Java ■BorlandC ■LinuxC ■MS-DOS ■bash ■Excel VBA ■VBScript ■PHP ■HTML ■perl ■iPhone ■Android ■Lua ■WordPress ■PowerShell ■other |
| Linuxコマンド |
| 用語集 |
| debian メモ |
| apache2 メモ |
| MySQL メモ |
| Oracle メモ |
| HOME |
PostgreSQLへsqlalchemyでレコードを追加します。
◆環境| OS | Windows 10 Home 22H2 64bit OS x64 プロセッサ |
|---|---|
| Python | 3.9.6 |
| VS Code | 1.59.0 |
PostgreSQLのインストールとpythonのツールのインストールを行い最後にPythonでPostgreSQLへレコードを追加するプログラムを作成します。
PostgreSQL検索
Googleでpostgresqlを検索します。
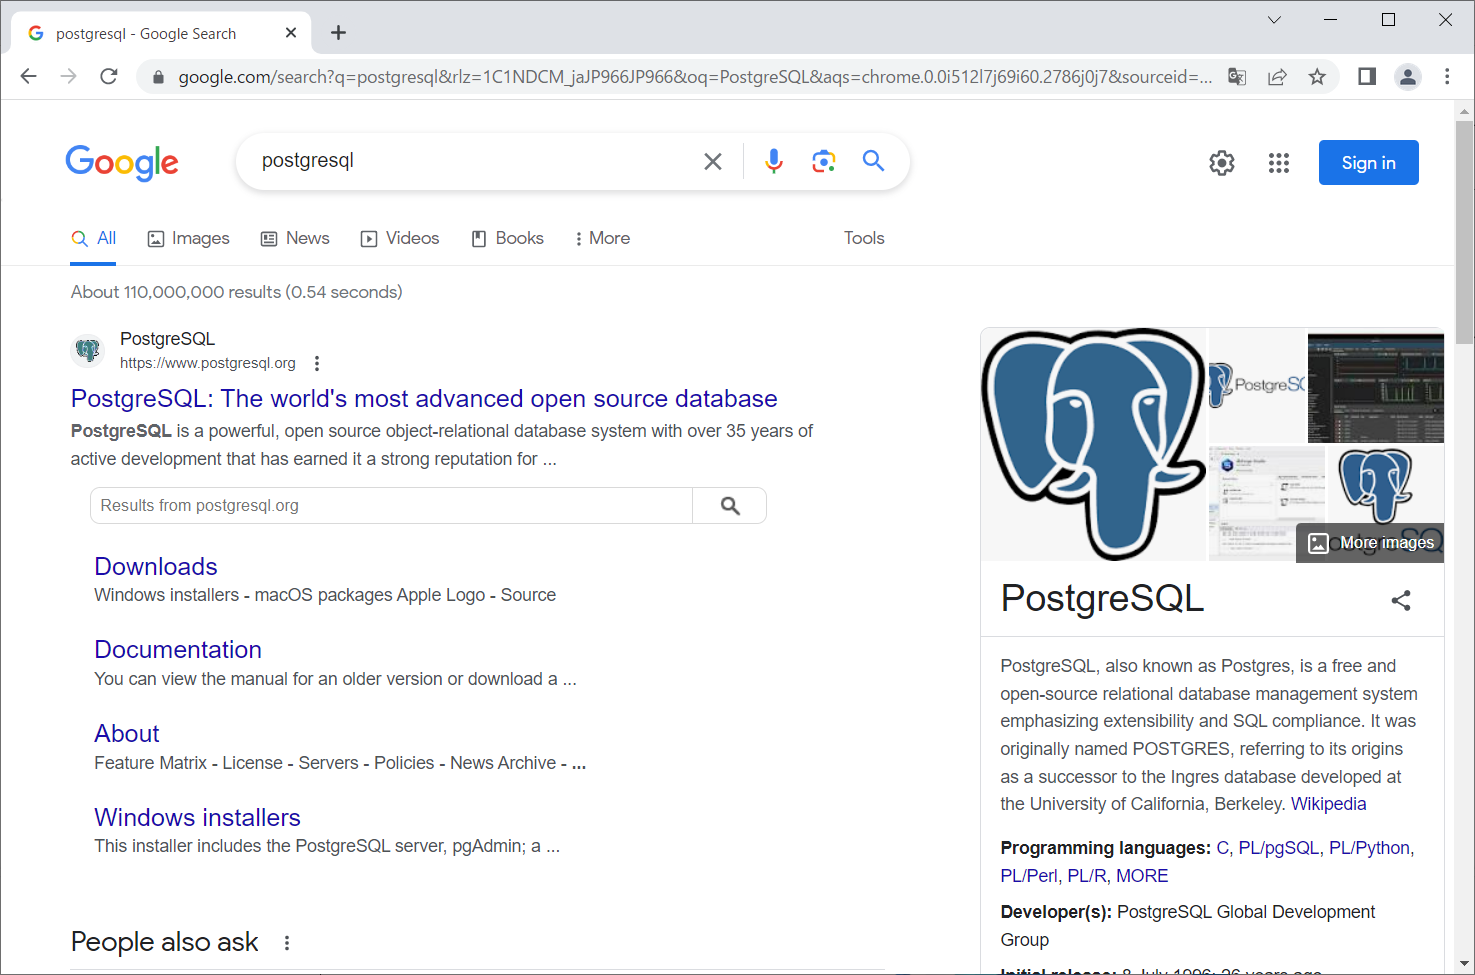
Downloadsをクリックします。

Windowsをクリックします。
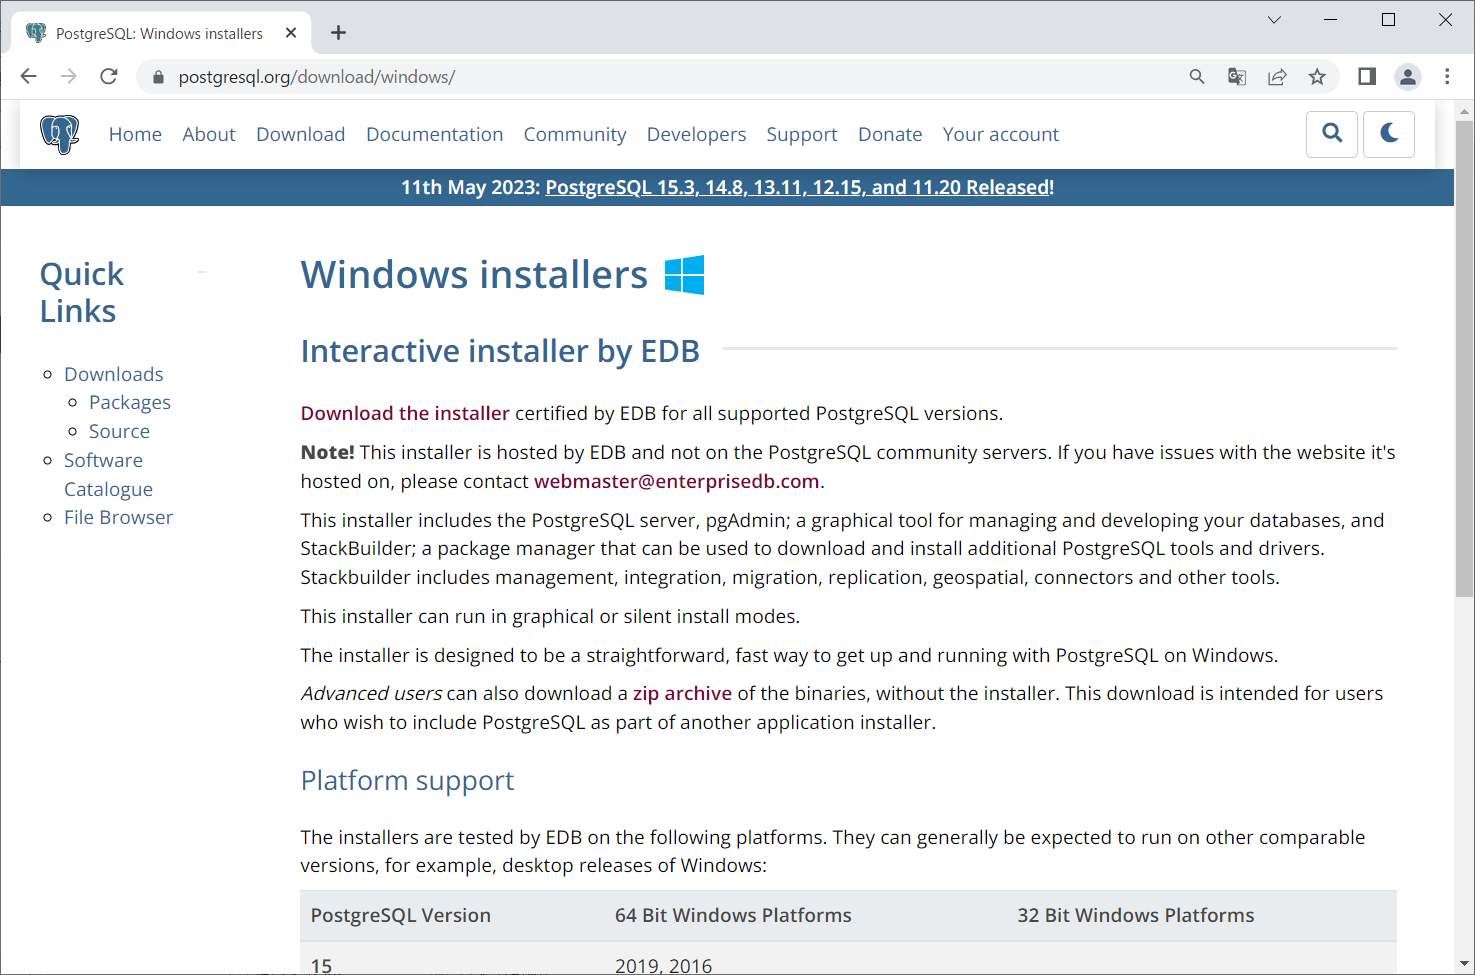
Download the installerをクリックします。

15.3の行のWindows x86-64の列にある下矢印をクリックします。

以下のファイルがダウンロードされました。
PostgreSQLインストール
ダウンロードしたファイルを右クリックします。

「管理者として実行」をクリックします。
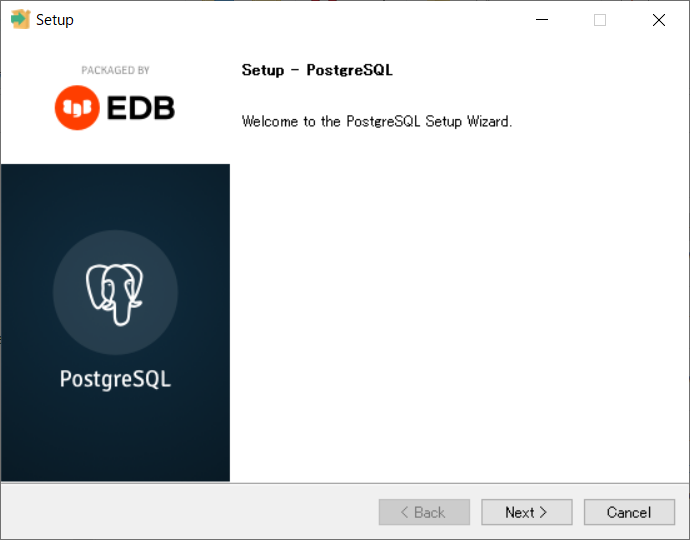
「Next」をクリックします。
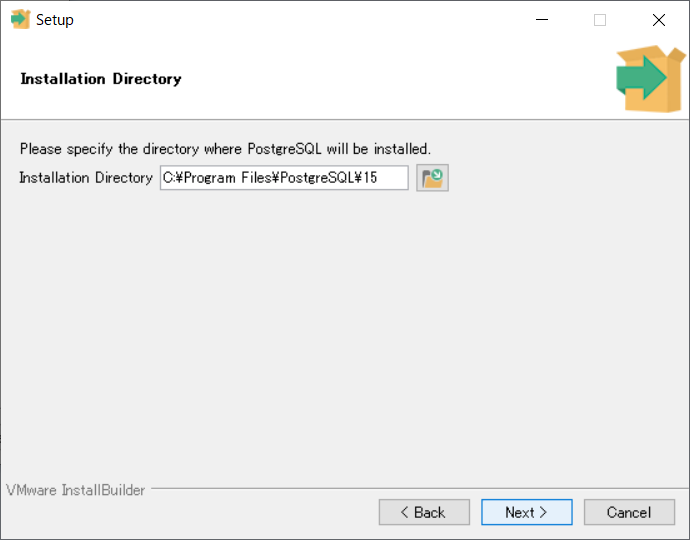
「Next」をクリックします。
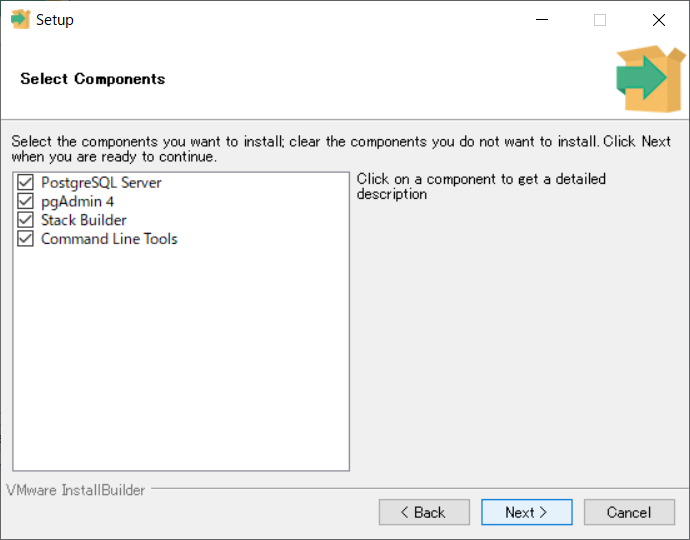
「Next」をクリックします。
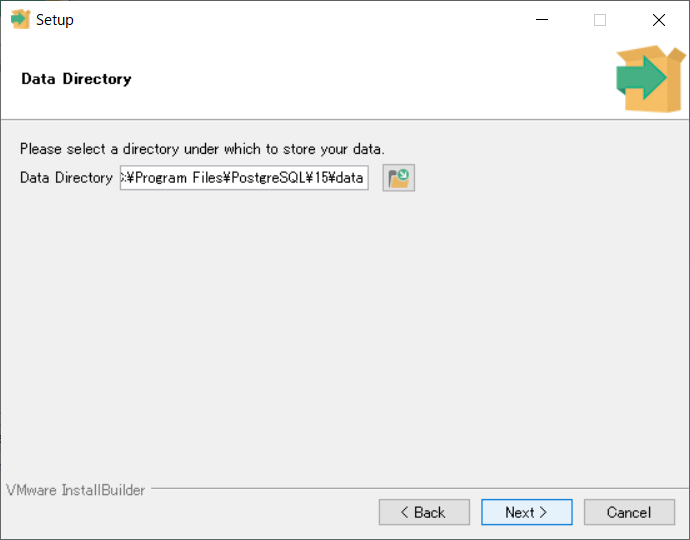
「Next」をクリックします。
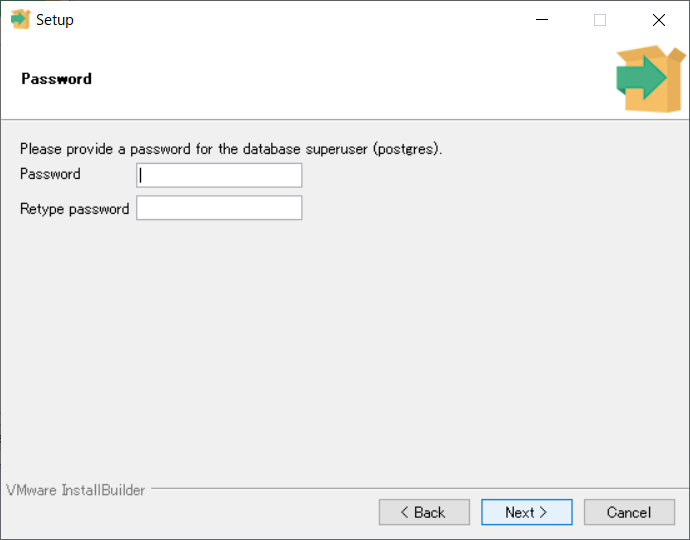
「Password」と「Retype password」を入力します。

「Next」をクリックします。

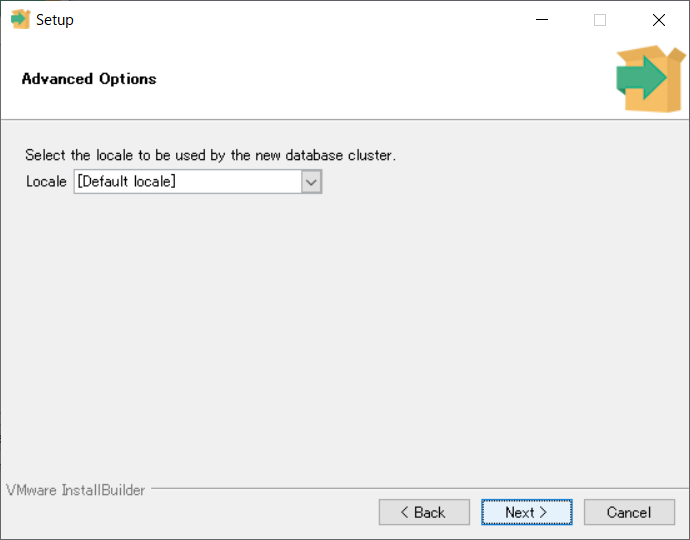
「Next」をクリックします。
「Next」をクリックします。
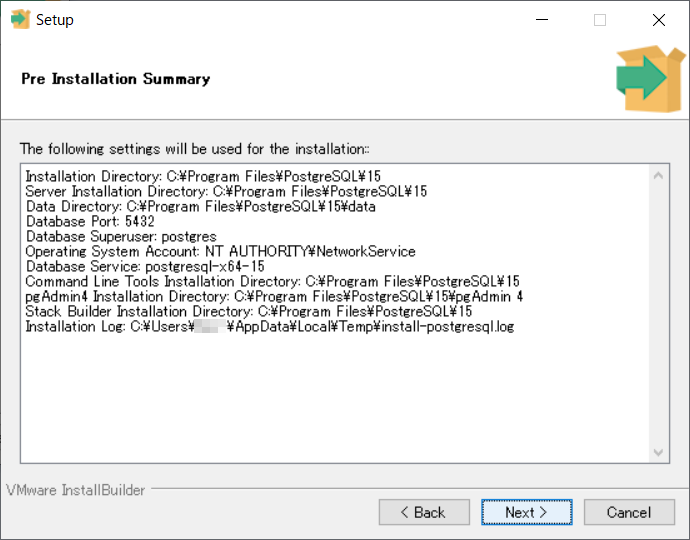
「Next」をクリックします。
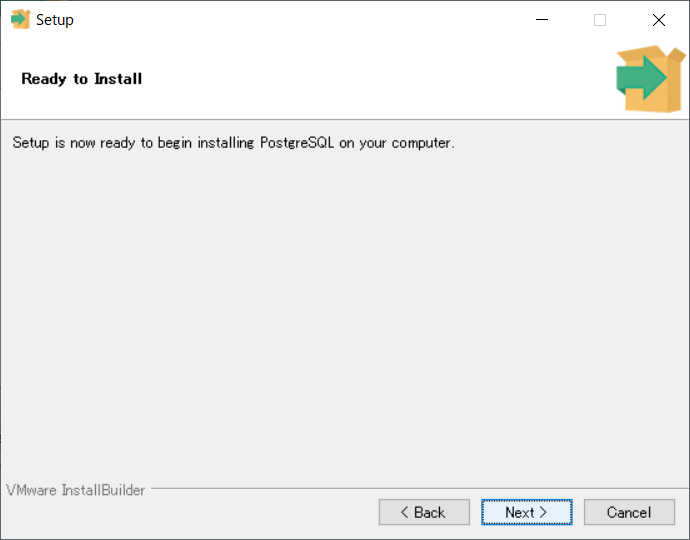
「Next」をクリックします。
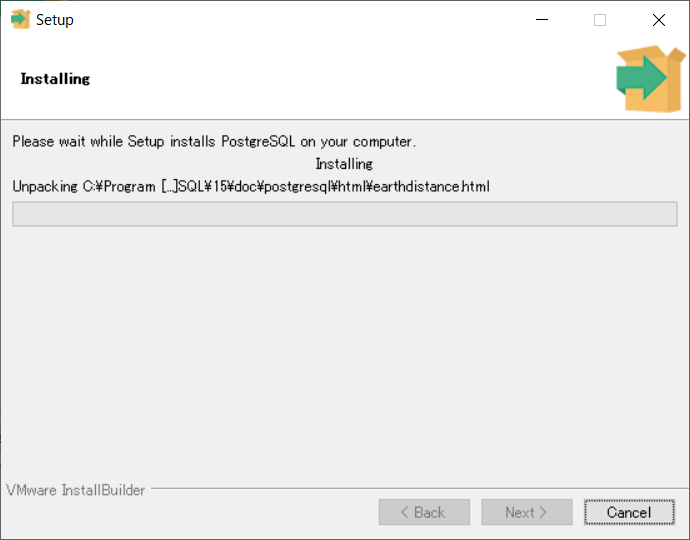
インストールが始まりました。

「Finish」をクリックします。

「Next」をクリックします。

「Next」をクリックします。
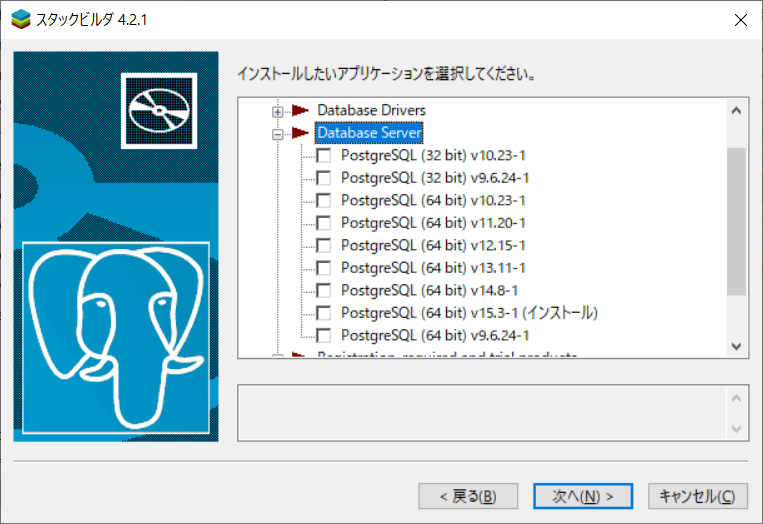
あまり関係なさそうなので「キャンセル」をクリックします。

「はい」をクリックします。
無事インストールできたようです。
PostgreSQL接続確認
コマンドプロンプトを開きPostgreSQLへの接続確認をします。
C:\Program Files\PostgreSQL\15\bin>psql -U postgres
ユーザー postgres のパスワード:
psql (15.3)
"help"でヘルプを表示します。
postgres=# \q
正常に接続できました。
データベースとテーブルの作成
データベースとテーブルを作成します。
CREATE DATABASE
postgres=# \c mydb
データベース"mydb"にユーザー"postgres"として接続しました。
mydb=#
id serial not null,
text text,
primary key(id)
)
sqlalchemyインストール
sqlalchemyをインストールします

プログラム作成
作成したaisatsuテーブルにレコードを追加するプログラムを作成します。
| psqlIns.py | ||
|
MySQLのプログラムのdb_urlだけ変更しました。
実行してみます。
postgresql://user:pass@localhost:5432/mydb
Engine(postgresql://user:***@localhost:5432/mydb)
<sqlalchemy.orm.scoping.scoped_session object at 0x000002551B3FBD90>
特にエラーは出ませんでした。
データベースを確認してみます。
id | text
----+------------
1 | こんにちわ
2 | おはよう
3 | Hello
(3 行)
期待通りにデータが追加されていました。
Copyright (C) 2023 ymlib.com