| サンプル集 |
|
■VC ■C# ■Java ■BorlandC ■LinuxC ■MS-DOS ■bash ■Excel VBA ■VBScript ■PHP ■HTML ■perl ■iPhone ■Android ■Lua ■other |
| Linuxコマンド |
| 用語集 |
| debian メモ |
| apache2 メモ |
| MySQL メモ |
| Oracle メモ |
| HOME |
phpとMySQLとapacheが動作する環境を作ります。
◆環境| OS | Windows 7 Professional Service Pack 1 (64bit) |
|---|---|
| apache | 2.4.4 (64bit) |
| PHP | 5.5.0 (64bit) |
| MySQL | 5.6.12.0 (32bit) |
apache
httpd-2.4.4-win64.zip
解凍しApache24フォルダをC:\直下に移動します。
※デフォルトのhttpd.confの設定がC:/Apache24になっているので合わせるためC:\配下に移動させました。
コマンドプロンプトを管理者として実行します。 Apacheをサービスに登録します。
Installing the Apache2.4 service
The Apache2.4 service is successfully installed.
Testing httpd.conf....
Errors reported here must be corrected before the service can
 be started.
AH00558: httpd.exe: Could not reliably determine the server's
fully qualified domain name, using fe80::56d:1dd6:cece:d6c2. Set the 'ServerNam
e' directive globally to suppress this message
ServerNameのエラーが出てますが気にせず起動します。
AH00558: httpd.exe: Could not reliably determine the server's
fully qualified domain name, using fe80::56d:1dd6:cece:d6c2. Set the 'ServerNam
e' directive globally to suppress this message
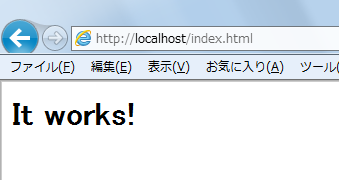
ブラウザでhttp://localhostへアクセスします。 以下の画面が表示されれば正常に動作しています。
php
php-5.5.0-Win32-VC11-x64.zip
zipを解凍し、解凍したフォルダを環境変数Pathにパスを追加しました。
バージョンを確認しようとしてコマンドプロンプトでphp --versionを実行したらMSVCR110.dllが無いというエラーが出ました。 次のexeをMicrosoftのページからダウンロードしインストールします。
vcredist_x64.exe
バージョンを確認します。
PHP 5.5.0 (cli) (built: Jun 19 2013 15:50:56)
Copyright (c) 1997-2013 The PHP Group
Zend Engine v2.5.0-dev, Copyright (c) 1998-2013 Zend Technolo
giesMySQL
mysql-installer-community-5.6.12.0.msi
こちらはHPに32bitビルドだが64bitでも大丈夫というような感じの事が英語で書いてありました。
インストール後、環境変数Pathにbinまでのパスを追加しました。
接続確認します。
Enter password: root
プロンプトがmysql>になれば成功です。 exitで抜けます。
apacheの設定
次のファイルを編集します。
C:\Apache24\conf\httpd.conf
<Directory "c:/htmlDoc">
LoadModuleは、LoadModuleの記述が並んでいる最後の行に追加します。
e2_4.dll"AddTypeも、AddTypeの記述が並んでいる最後の行に追加します。
ファイルの最後にphp.iniのフォルダを指定します。
C:\にhtmlDocというフォルダを作って次のプログラムファイルを置きます。
| php_test.php | ||
|
Apacheを再起動します。
The Apache2.4 service is stopping.
The Apache2.4 service has stopped.
> \Apache24\bin\httpd.exe -k start
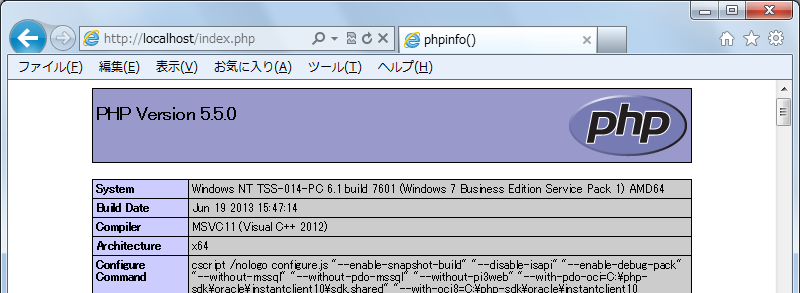
ブラウザでhttp://localhost/index.phpへアクセスします。 以下の画面が表示されれば正常に動作しています。
データベース、テーブルの作成
DOS窓でMySQLへログインします。
Enter password: ****
Welcome to the MySQL monitor. Commands end with ; or \g.
Your MySQL connection id is 1
Server version: 5.6.12 MySQL Community Server (GPL)
Copyright (c) 2000, 2013, Oracle and/or its affiliates. All r
ights reserved.Oracle is a registered trademark of Oracle Corporation and/or
itsaffiliates. Other names may be trademarks of their respective
owners.
Type 'help;' or '\h' for help. Type '\c' to clear the current
input statement.mysql>
まずはhousekeeping_bookという名前でデータベースを作ります。
Query OK, 1 row affected (0.03 sec)
作成したデータベースを選択します。
Database changed
テーブルを作ります。
-> (
-> unq_id BIGINT NOT NULL AUTO_INCREMENT
-> , dlngs_dttm DATETIME NOT NULL
-> , dlngs_dtl VARCHAR(255) NOT NULL
-> , dlngs_prc INT
-> , PRIMARY KEY (unq_id)
-> );
Query OK, 0 rows affected (0.58 sec)
データベースへ接続するphpを作ります。
| conn_test.php | ||
|
作成したphpをC:\htmlDoc配下へ置きhttp://localhost/conn_test.phpへアクセスします。 以下の画面が表示されれば正常に動作しています。
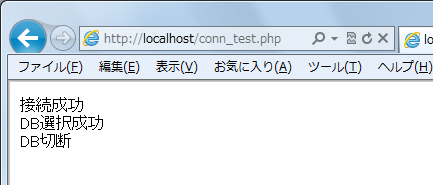
これでとりあず大まかな環境は完成です。 細かい設定は必要になった都度行っていきます。
Copyright (C) 2013 ymlib.com