AWSアクセスNode.jsでチャットを作ってみます。
- インストール
- チャット作成
- 動作確認
インストール
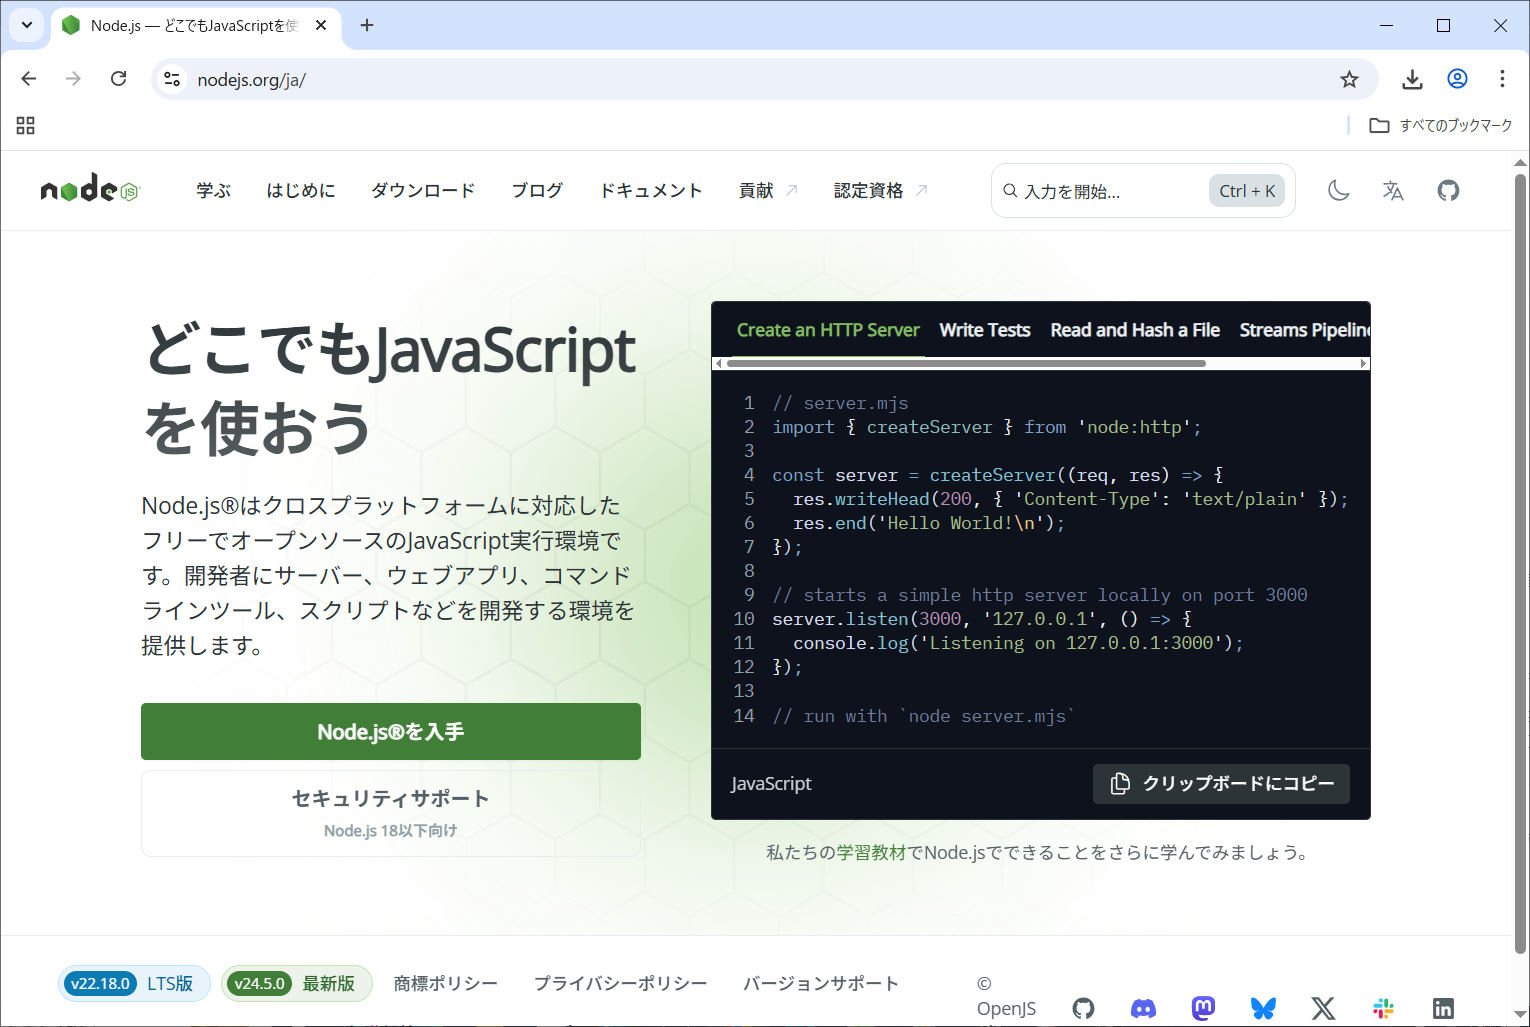
Node.jsで検索しページを開きます。
下にスクロールさせます。
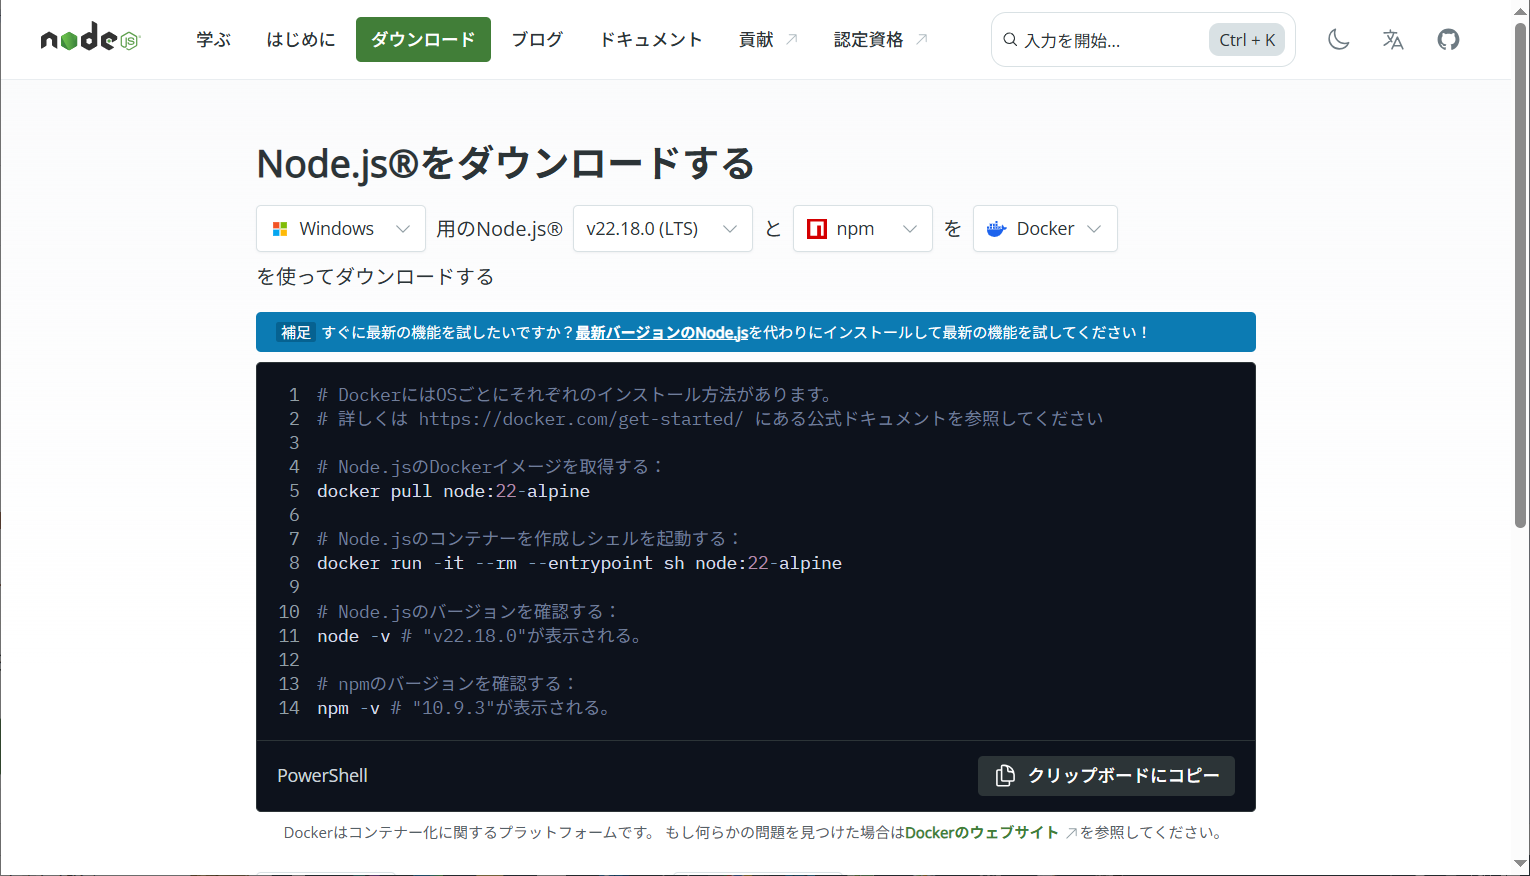
Windows インストーラー (.msi)をクリックします。
以下のファイルがダウンロードされました。
node-v22.18.0-x64.msi
ファイルを右クリックしインストールを選択します。

Nextをクリックします。

I accept the terms in the License AgreementをチェックしNextをクリックします。

Nextをクリックします。
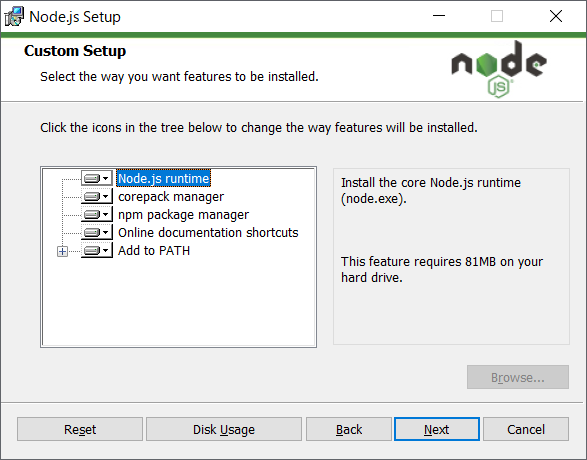
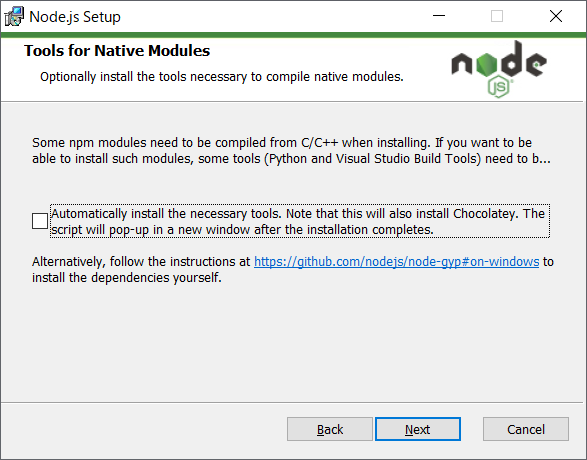
Nextをクリックします。
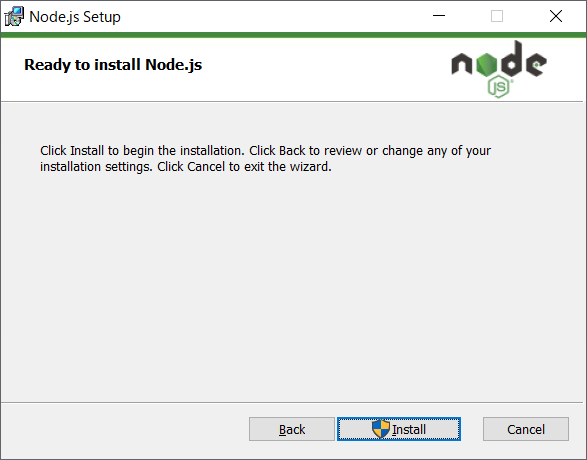
Installをクリックします。
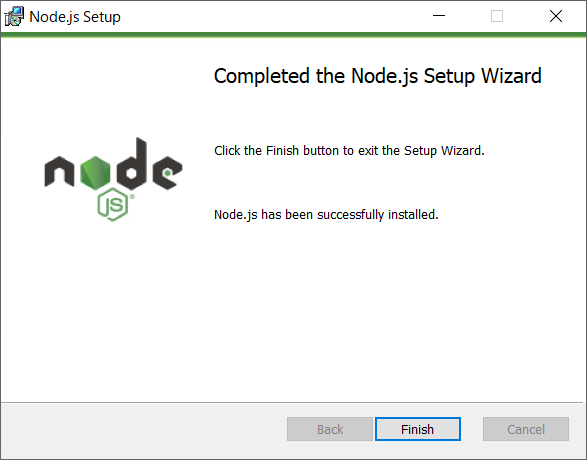
Finishをクリックします。
コマンドプロンプトでバージョンを確認します。
>node -v
v22.18.0
>npm -v
10.9.3
正常にインストールされたようです。
チャット作成
利用するライブラリの情報です。
|
package.json
|
1:
2:
3:
4:
5:
6:
7:
8:
9:
10:
11:
12:
13:
|
{
"name": "chatapp",
"version": "1.0.0",
"description": "Simple Chat with Node.js and Socket.IO",
"main": "server.js",
"scripts": {
"start": "node server.js"
},
"dependencies": {
"express": "^4.18.2",
"socket.io": "^4.7.2"
}
}
|
|
Node.jsサーバです。
|
server.js
|
1:
2:
3:
4:
5:
6:
7:
8:
9:
10:
11:
12:
13:
14:
15:
16:
17:
18:
19:
20:
21:
22:
|
const express = require("express");
const app = express();
const http = require("http").createServer(app);
const io = require("socket.io")(http);
app.use(express.static("public"));
io.on("connection", (socket) => {
console.log("A user connected");
socket.on("chat message", (msg) => {
io.emit("chat message", msg);
});
socket.on("disconnect", () => {
console.log("A user disconnected");
});
});
http.listen(PORT, () => {
console.log("Server running at http://localhost:3000");
});
|
|
チャット画面です。
|
index.html
|
1:
2:
3:
4:
5:
6:
7:
8:
9:
10:
11:
12:
13:
14:
15:
16:
17:
18:
19:
20:
21:
22:
23:
24:
25:
26:
27:
28:
29:
30:
31:
32:
33:
34:
35:
36:
37:
38:
39:
40:
41:
42:
43:
|
<!DOCTYPE html>
<html lang="ja">
<head>
<meta charset="UTF-8" />
<meta name="viewport"
content="width=device-width, initial-scale=1.0"/>
<title>チャット</title>
<link rel="stylesheet" href="style.css" />
</head>
<body>
<div id="chat-container">
<ul id="messages"></ul>
<form id="form">
<input id="input" autocomplete="off"
placeholder="メッセージを入力..." />
<button>送信</button>
</form>
</div>
<script src="/socket.io/socket.io.js"></script>
<script>
const socket = io();
const form = document.getElementById("form");
const input = document.getElementById("input");
const messages = document.getElementById("messages");
form.addEventListener("submit", function(e) {
e.preventDefault();
if (input.value) {
socket.emit("chat message", input.value);
input.value = "";
}
});
socket.on("chat message", function(msg) {
const item = document.createElement("li");
item.textContent = msg;
messages.appendChild(item);
window.scrollTo(0, document.body.scrollHeight);
});
</script>
</body>
</html>
|
|
チャット画面のcssです。
|
style.css
|
1:
2:
3:
4:
5:
6:
7:
8:
9:
10:
11:
12:
13:
14:
15:
16:
17:
18:
19:
20:
21:
22:
23:
24:
25:
26:
27:
28:
29:
30:
31:
32:
33:
34:
35:
36:
37:
38:
39:
40:
41:
42:
43:
44:
45:
46:
47:
48:
|
body {
font-family: Arial, sans-serif;
background: #f5f5f5;
margin: 0;
}
#chat-container {
max-width: 600px;
margin: auto;
background: white;
height: 100vh;
display: flex;
flex-direction: column;
}
#messages {
list-style: none;
padding: 10px;
flex: 1;
overflow-y: auto;
}
#messages li {
padding: 5px 10px;
background: #e3f2fd;
margin-bottom: 5px;
border-radius: 5px;
}
form {
display: flex;
padding: 10px;
background: #ddd;
}
input {
flex: 1;
padding: 10px;
border: none;
}
button {
padding: 10px 15px;
background: #2196f3;
color: white;
border: none;
cursor: pointer;
}
|
|
それぞれのファイルを以下のフォルダ構成で配置します。
chatapi
+ public
| - index.html
| - style.css
- package.json
- server.js
Terminalでnpx installコマンドを実行します。
> npm install
added 91 packages, and audited 92 packages in 3s
14 packages are looking for funding
run `npm fund` for details
found 0 vulnerabilities
フォルダーにファイルが色々生成されました。
動作確認
Terminalでnpx startコマンドを実行します。
> npm start
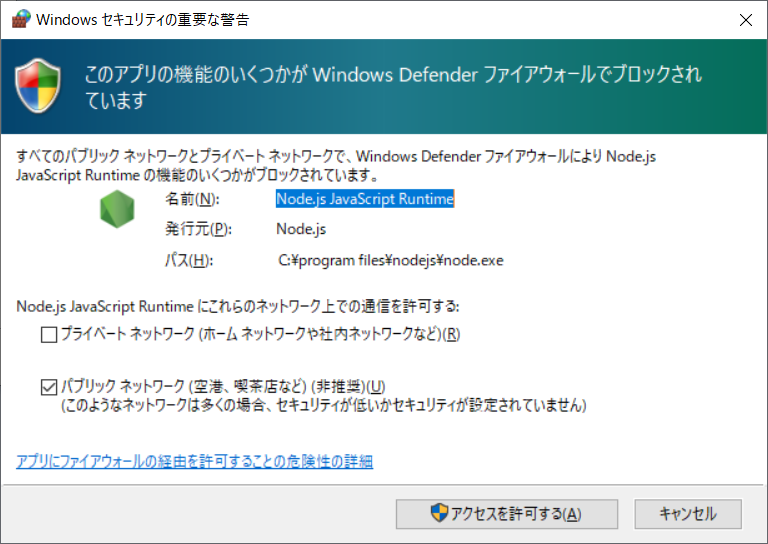
Windows セキュリティの重要な警告が開きました。
アクセスを許可するを押します。
無事サーバが起動したようです。
> chatapp@1.0.0 start
> node server.js
Server running at http://localhost:3000
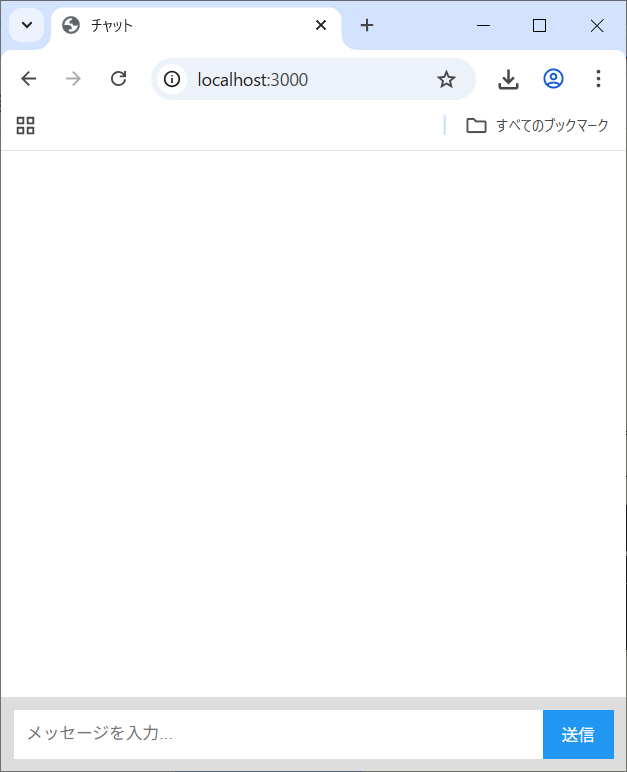
ブラウザを開きlocalhost:3000へアクセスしてみます。
Terminalにもメッセージが表示されました。
A user connected
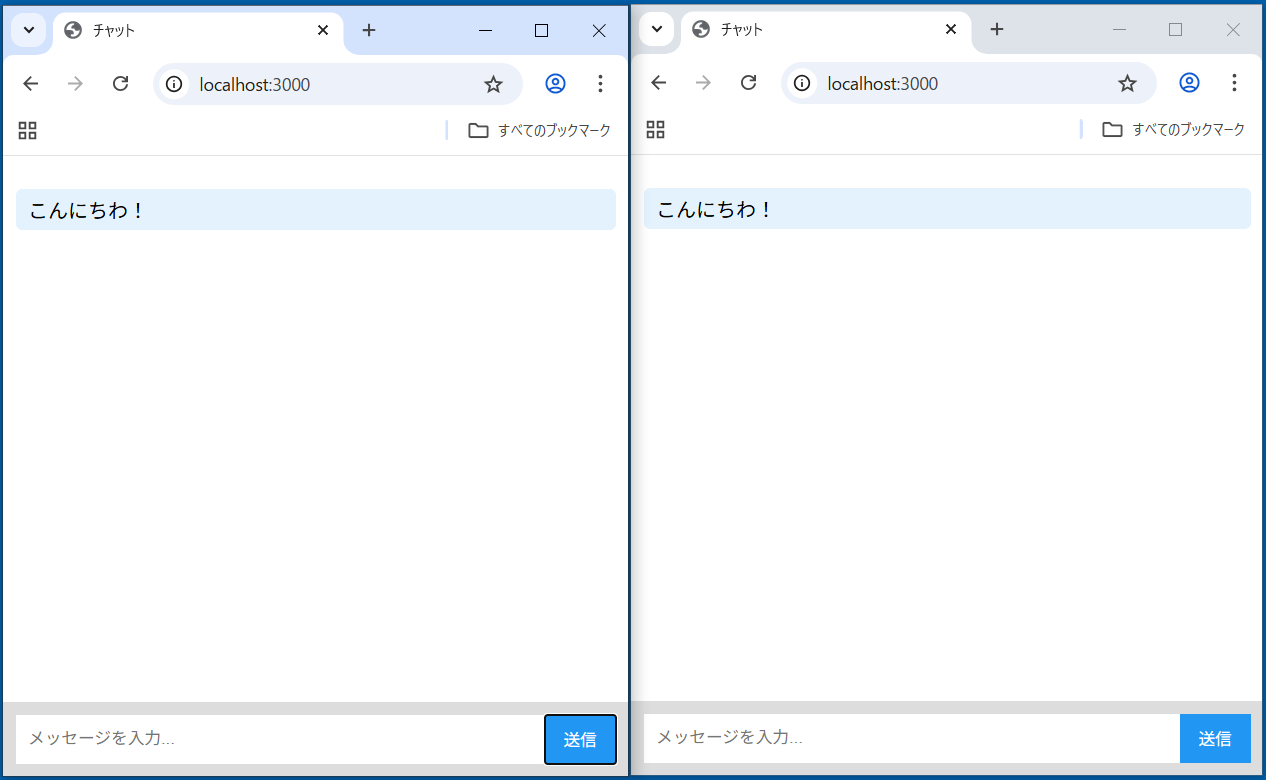
もう一つブラウザを開き、同じくlocalhost:3000へアクセスしてみます。
片方のブラウザでメッセージを入力し送信を押します。

もう片方のブラウザにもメッセージが表示されました。
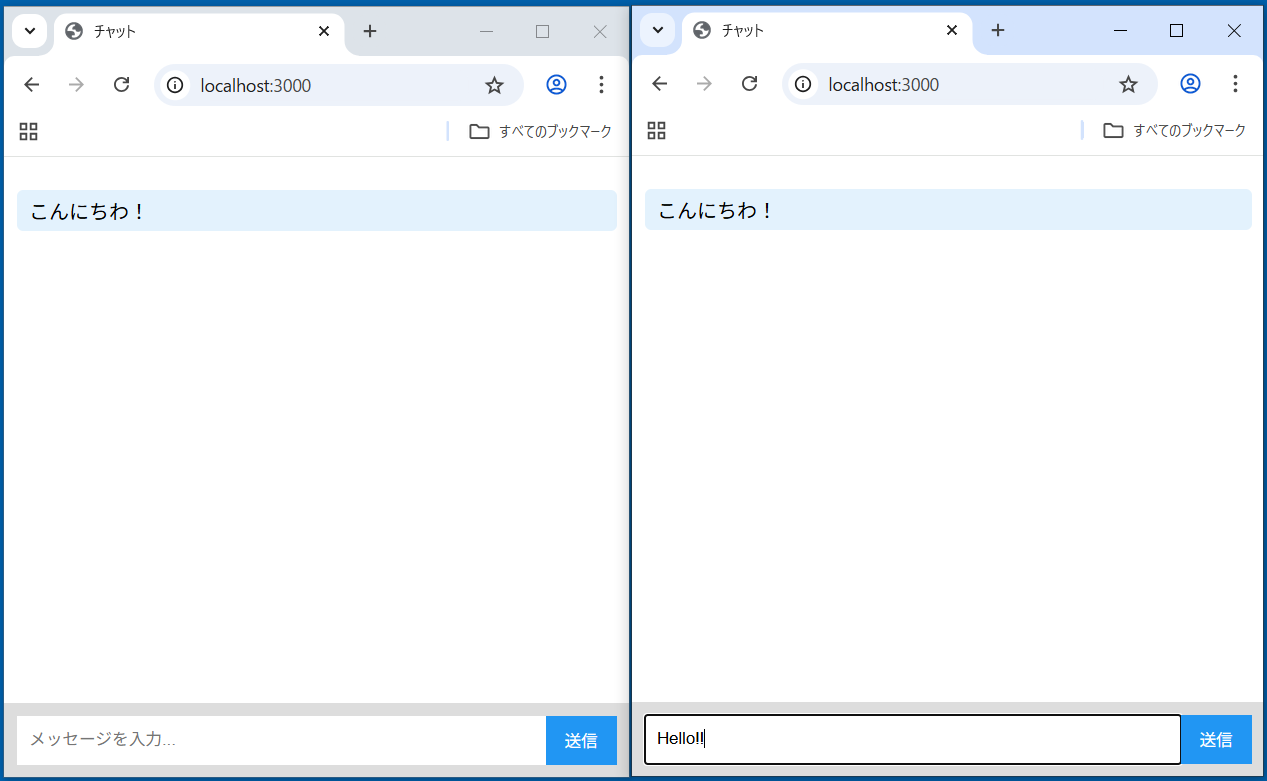
Hello!!と入力し送信を押します。
Hello!!と表示されました。
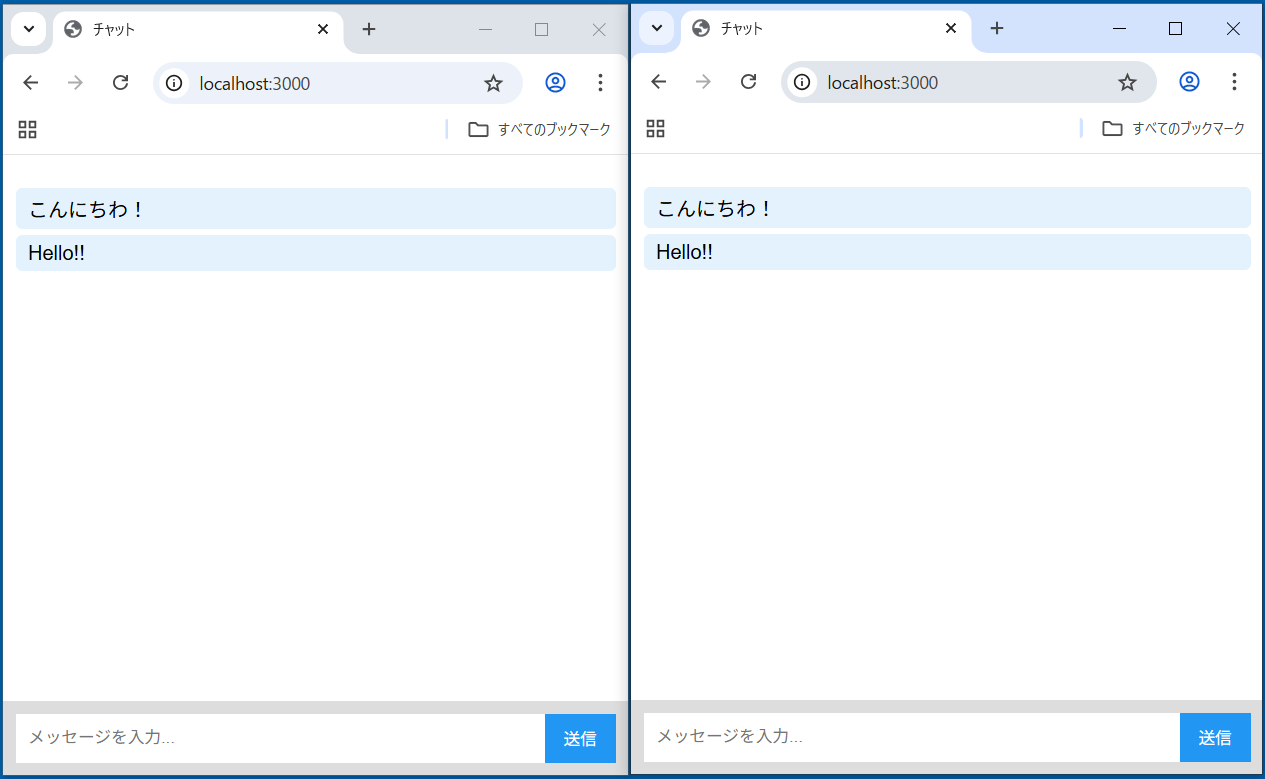
正常に動作しました。
▲ PageTop ■ Home
Copyright (C) 2025 ymlib.com